Got up yesterday, forgetting that I'd booked the week off. Once the Domestic Manager and my line manager had reminded me of the fact, I realised I had some workshop time to hand. I have some components to make for the Bantam still - but that requires me to model them up in Fusion first:
- Cross slide ballscrew extension. To allow me to refit the original micrometer handle and keep the original look of the machine. For now I have a plastic handwheel that came off the Bridgeport downfeed. Looks crap but does the business for now. It has a splined section to connect to the micrometer handle and a 10mm end for the spider coupling to the ballscrew. Not a complex part but I will have to turn it on the Bantam before splining it on The Shiz. Sounds like something to do when the machine is finally working as a CNC lathe.
- Rear cover for the cross slide ballscrew. Currently, the ballscrew and microswitch are exposed when the cross slide is at the extreme of movement (away from the centre line). This is little more than a U-shaped rectangular lump that bolts on the back of the cross slide.
- Solid pillar for the toolpost. There's no point having a top slide / compound slide on a CNC machine and it simply adds compliance, slop and backlash, so best omitted altogether.
Multifix toolholder:
Couldn't find any CAD models for the "A" size Multifix toolholder on the internet, so I got out the calipers and modelled it up myself. Came out well. It wasn't really needed, other than for visual effects but felt like a relaxing diversion. Uploaded to Grabcad.


Solid toolpost:
Then I modelled up the toolpost pillar thing. It's a lofted body, spanning the base of the Multifix toolpost and the cross slide. Furthermore, I have a piece of mystery loominum (probably 6061) that's almost the right size - 4.4" x 4.5" x 85mm, so these dimensions work for me. Perhaps steel would be better but I don't have anything to hand so for now it will have to suffice.

For machining out the outside surface of this part, I'll use the Korloy 50mm shell cutter, as the convex surfaces are all easily accessible. Then I'll use the trusty 10mm end mill for the counterbores etc. Finally, invert it and face off the 5mm or so I will have used to hold it in the vise.
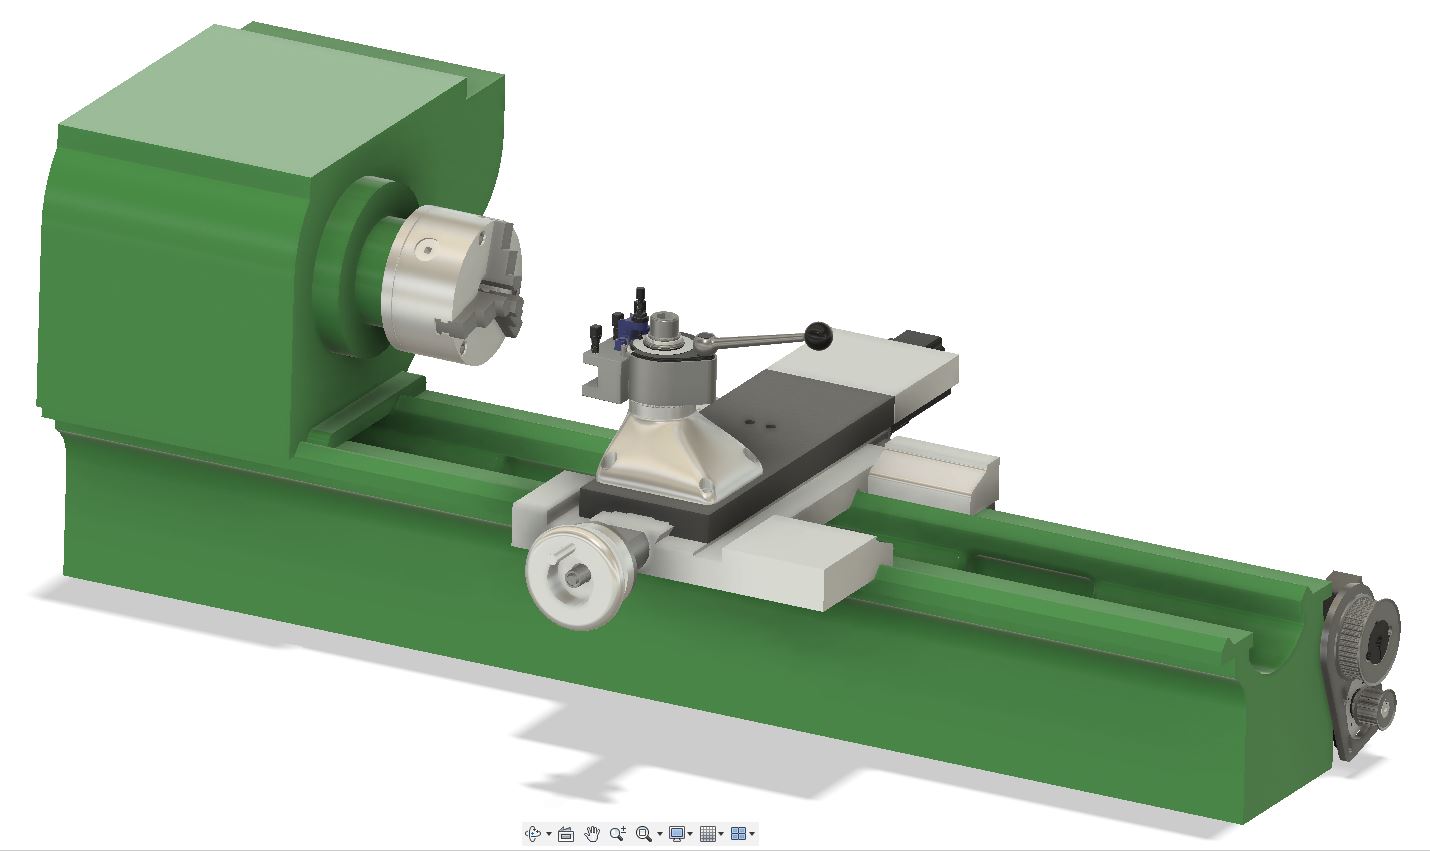
Here's a view of the assembly on the machine:

Bantam CAD model with head:
And yes, while I was at it, I created a headstock assembly for the Bantam. Fairly basic but more representative than the bare bed assembly I have been using so far:
I might be tempted to create a tailstock at some point, to bring it to something closer to completion.
Rear cross slide cover:
The rear cover is simple enough:

Again, the 50mm shell cutter should work nicely here. It's easy to forget that these cutters are not simply for skimming faces. They have 90 degree edges and the axial length is something like 11mm.
Ballscrew extension:

Time to flash up the 4th axis again. This will require a 2mm end mill. I have loads of them from a mixed batch of carbide PCB router bits, some in pretty good shape.

As I said, the ballscrew extension can wait for now.


No comments:
Post a Comment