First, let's finish connecting up the monitor. The bracket seems to be just about up to the job now that I've fitted an additional brace to make it more rigidly attached to the enclosure. And now I have 3m long cables for the USB, HDMI and mains, they actually reach to the controls.

The mains needed a gland to bring it into the electrical cabinet. Not much point wiring all this stuff up and requiring the monitor to have its own socket.

Now to connect up the 110V isolation transformer. It doesn't need to be isolated really, nor does it need to be rated to 3300kVA but this is the only one I have and I'm not about to buy another, smaller one. I need to rewire the 240V side first. Note that these devices feature a "centre tap earth connection", so the output is actually 55VAC either side of protective earth on each output connection, giving 110VAC total.

There's no simple means of fixing this to the chassis, as it's intended to be a portable site transformer. However, I have no pride, so one of these strap things will do the business. Last thing I want is somebody (most likely The Stupid Fat Guy) catching it in passing and it ripping the cables out of the cabinet.


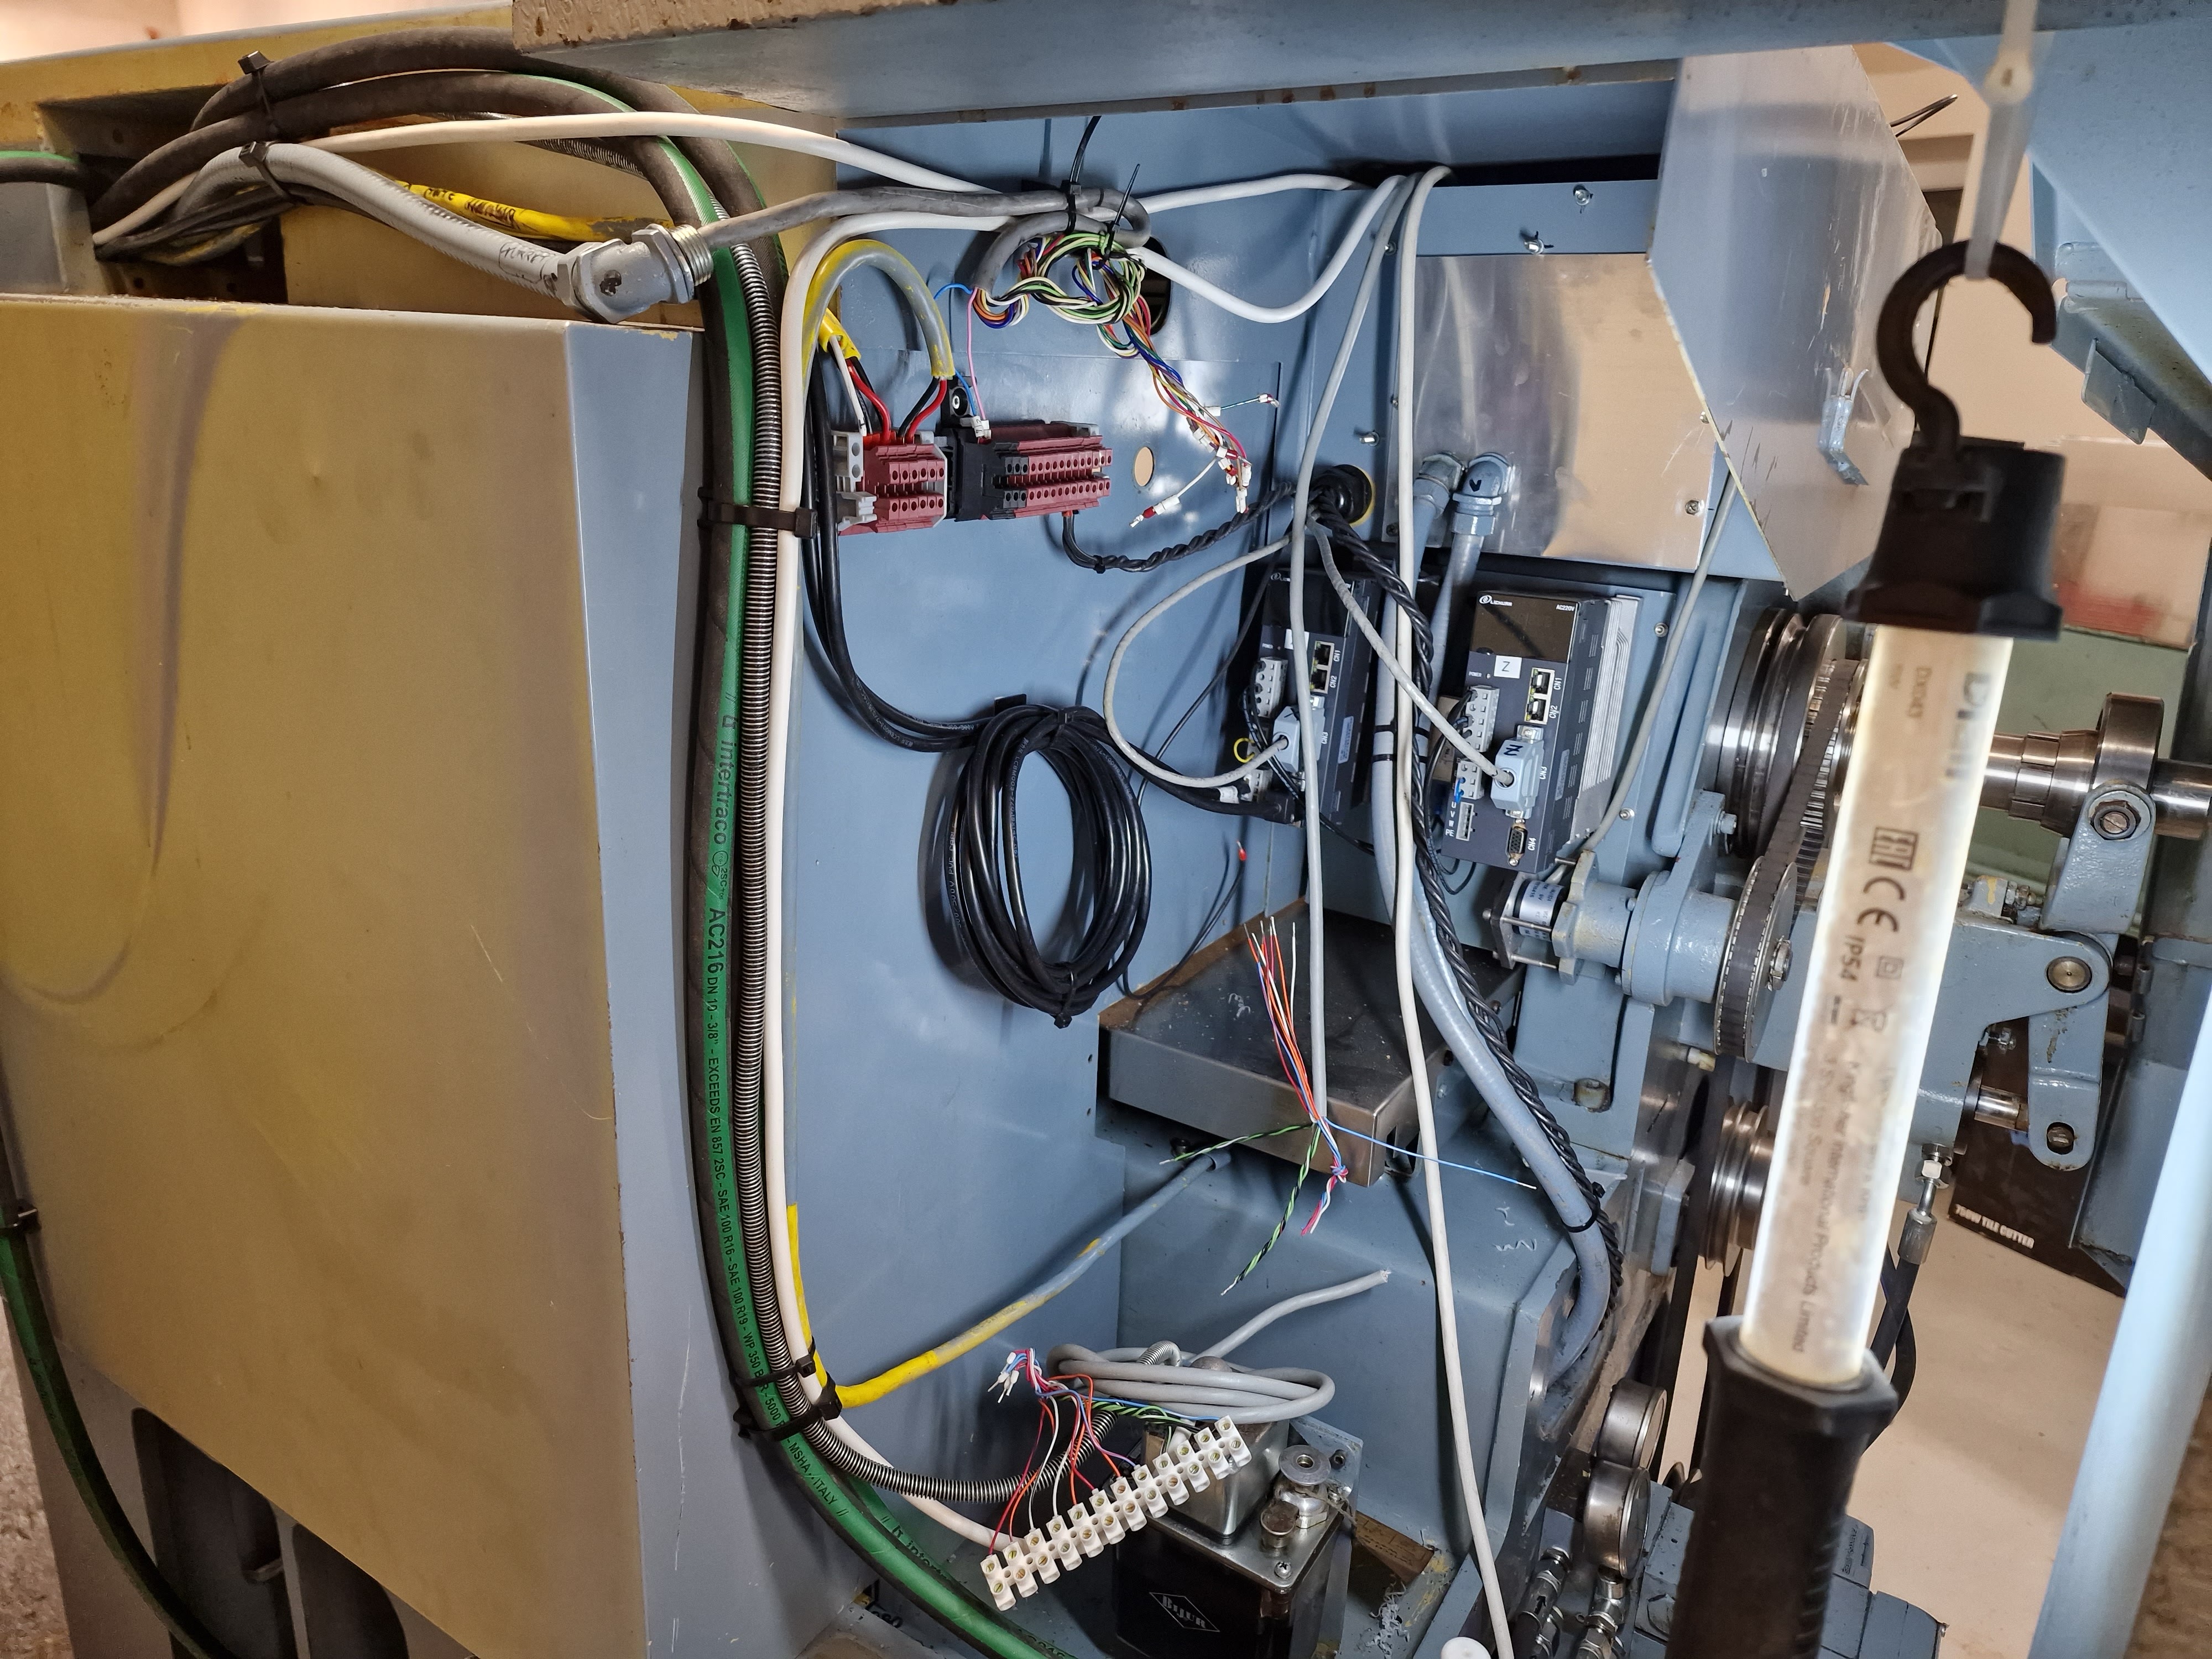
God, it's becoming a bit messy now but the end is in sight from an electrical installation POV.

That's most of yesterday's task list done now - or at least the ones that actually need to be done. The remainder will follow on when I finally have the thing running again.
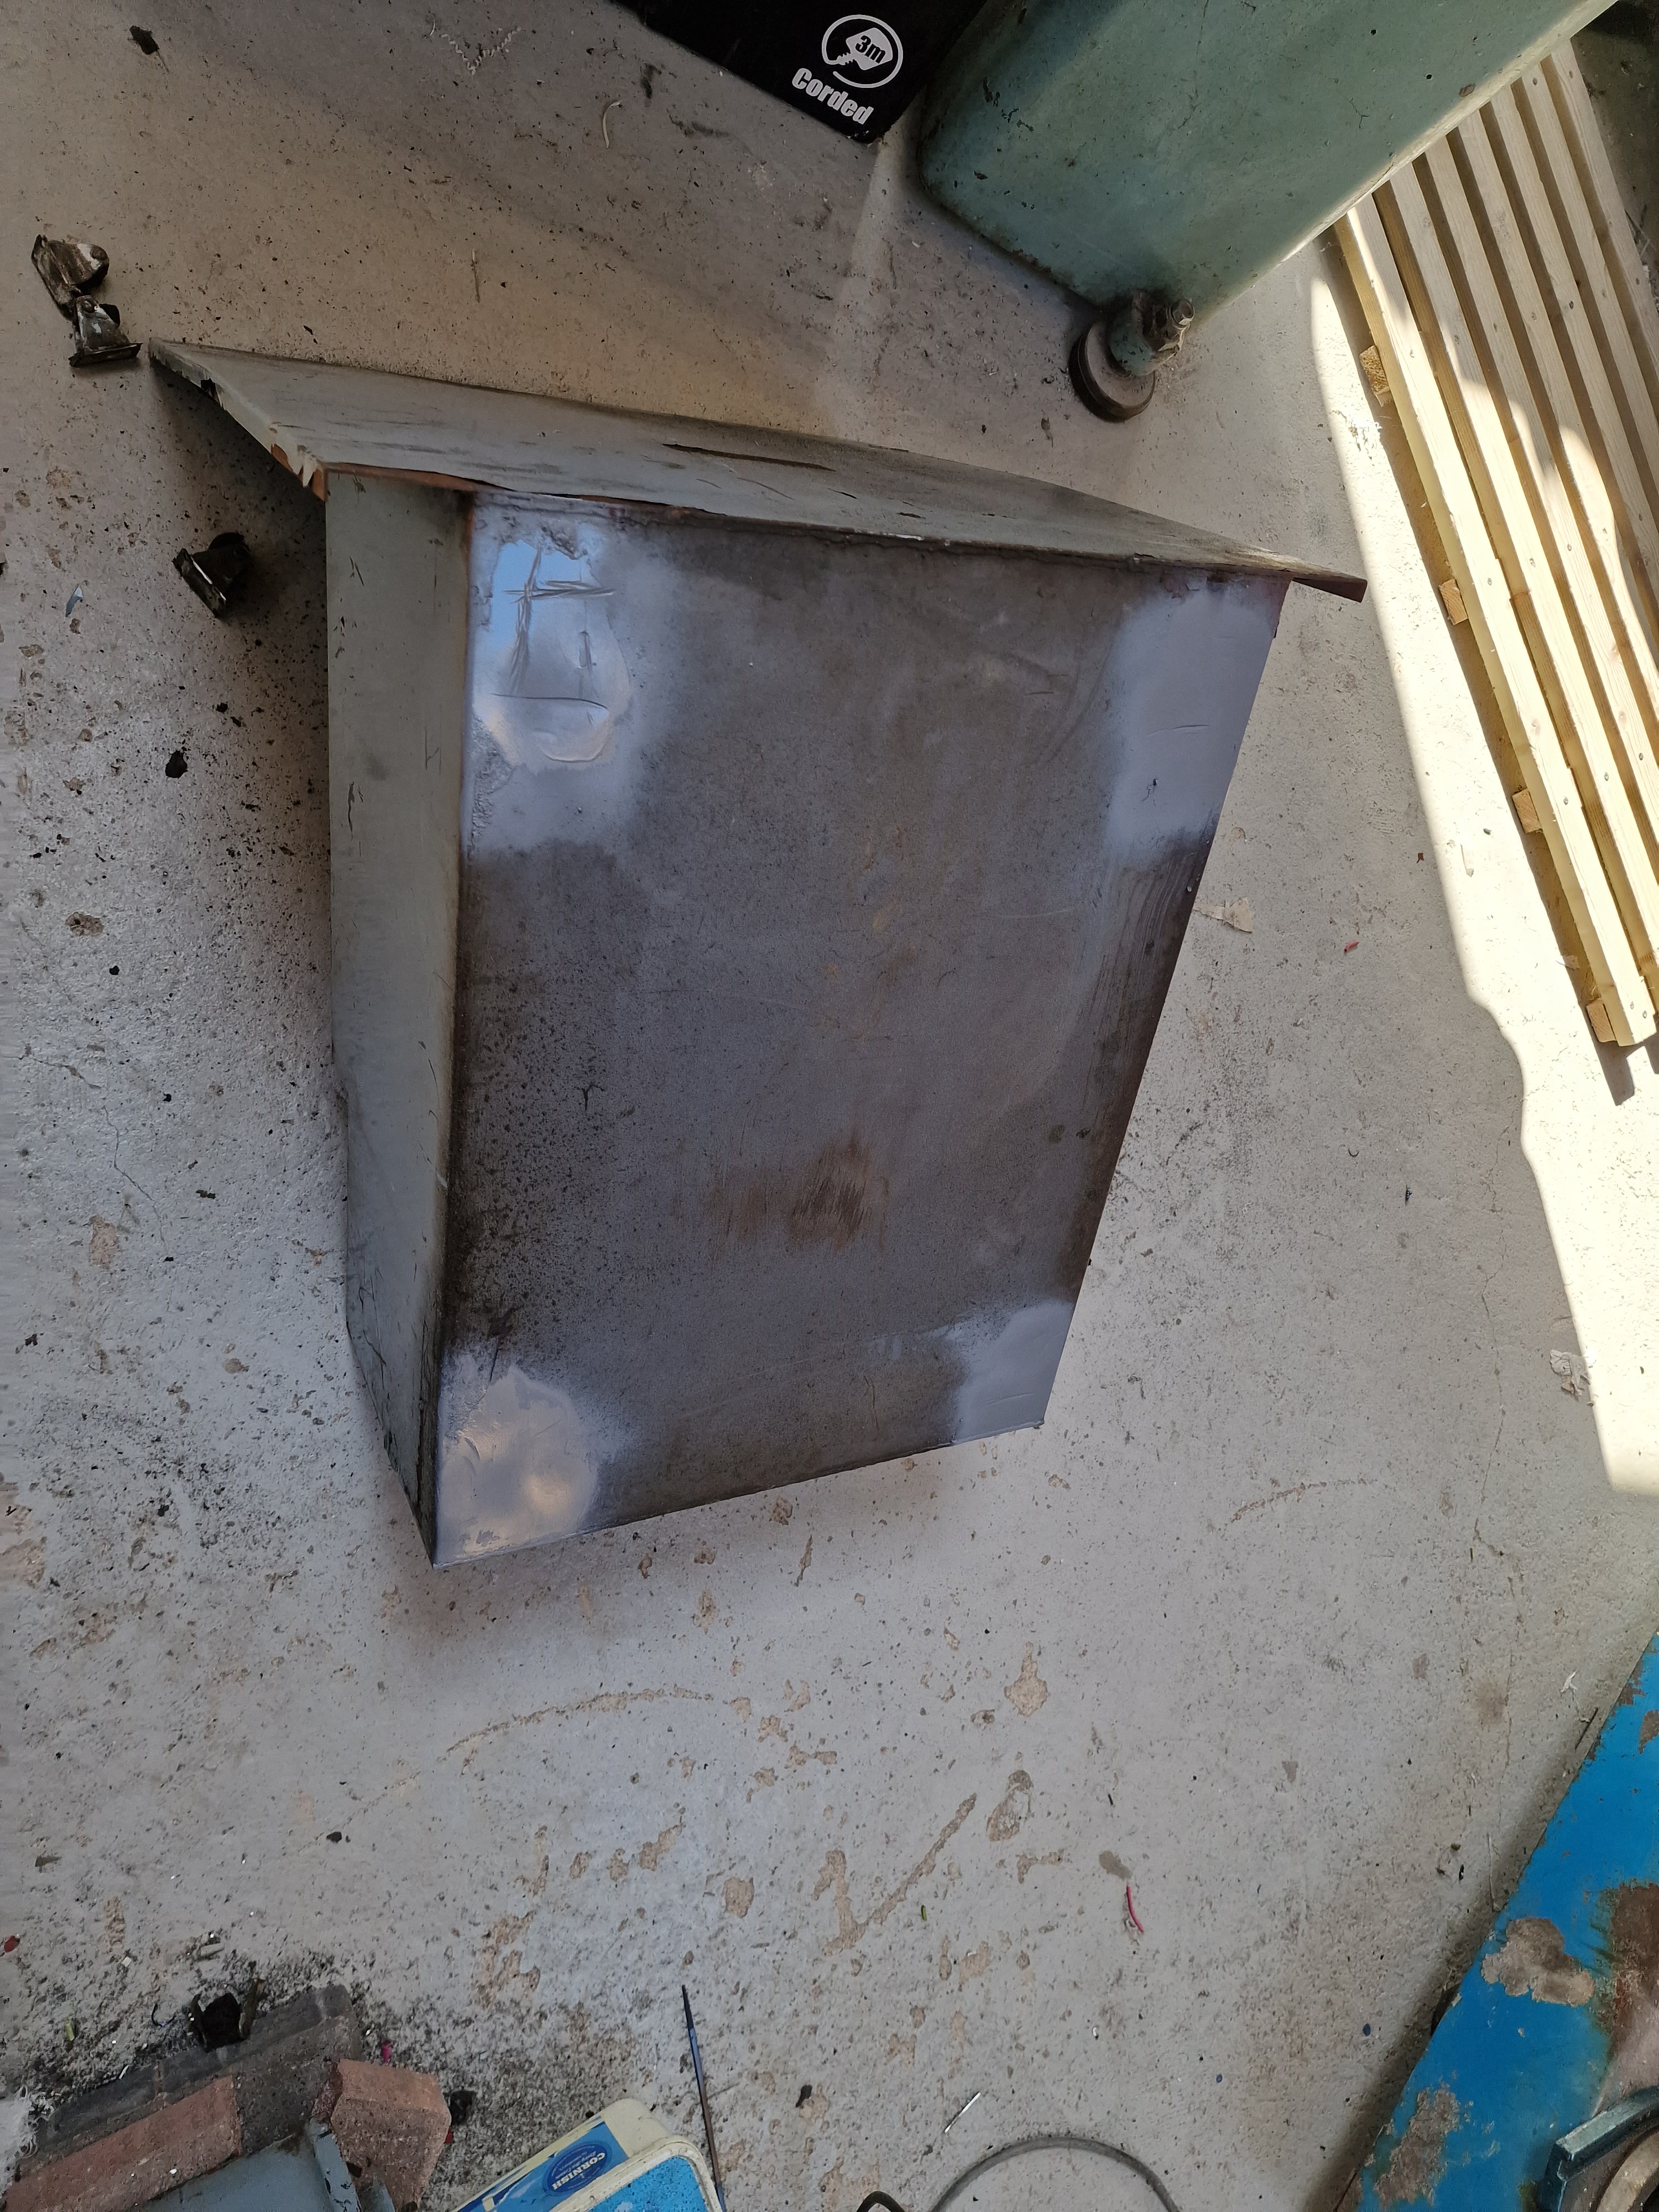
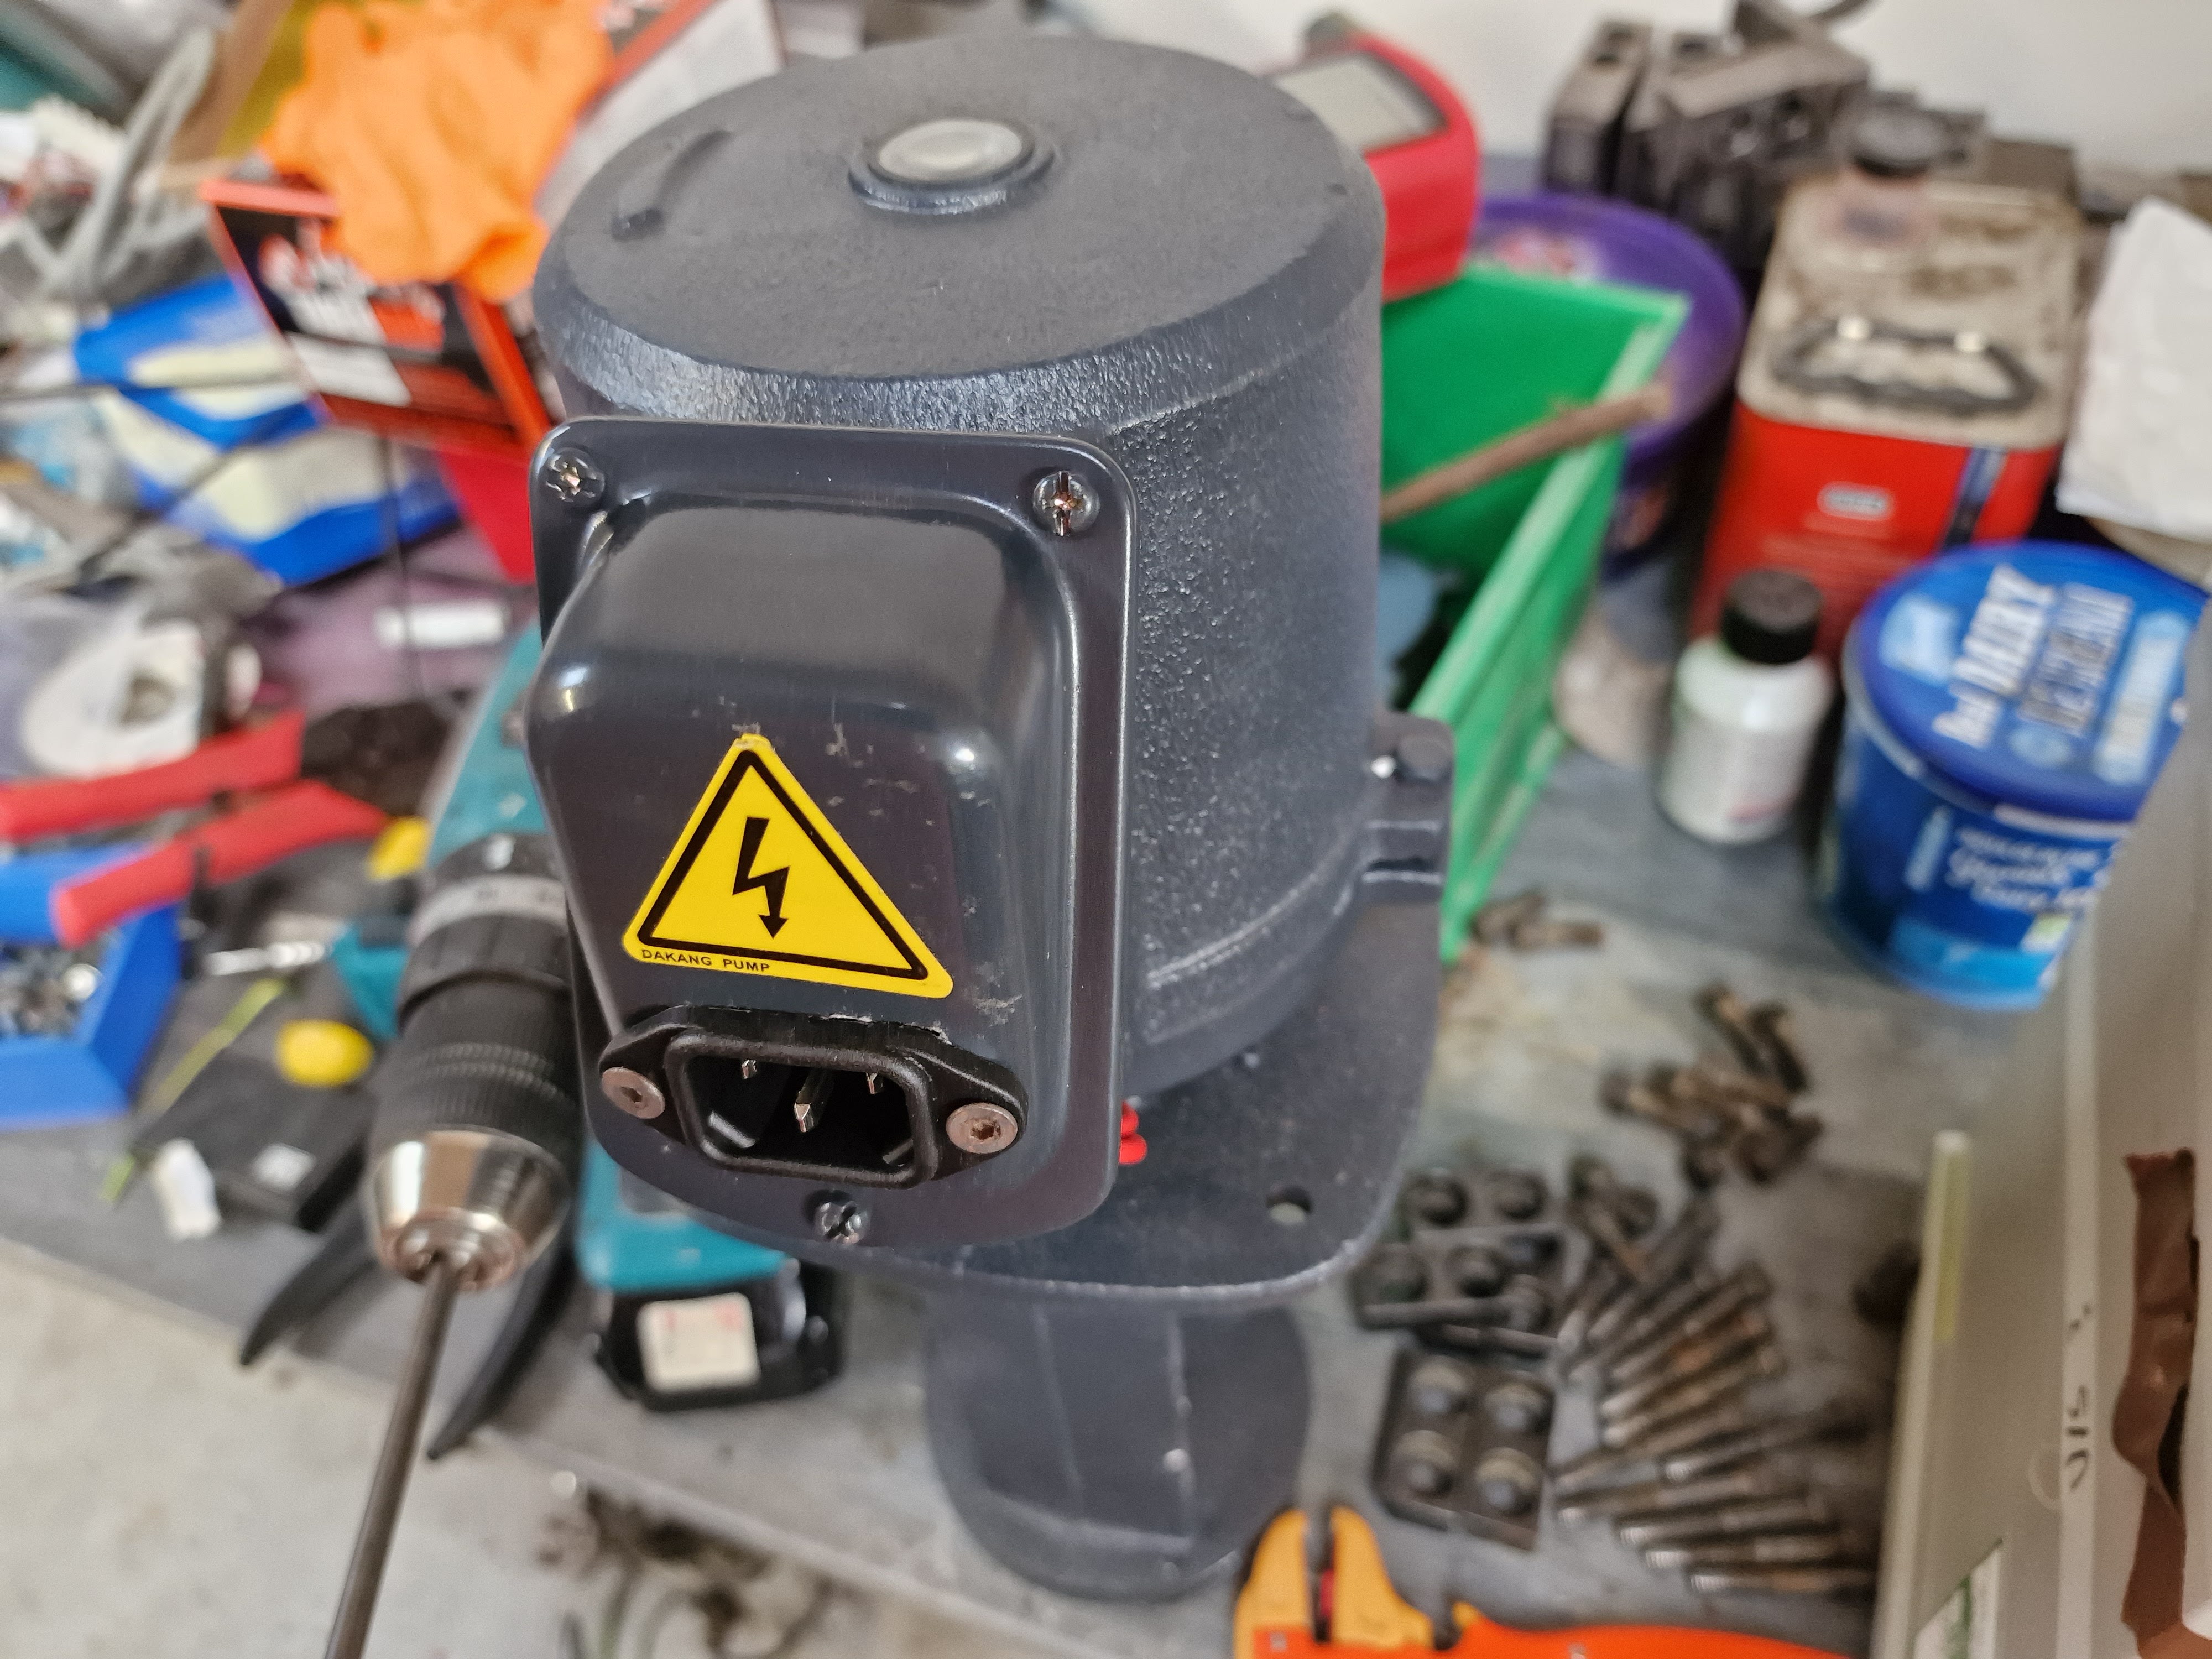
Wiring up and plumbing up the coolant pump and its associated reservoir tank.Mounting and connecting up the monitor and mouse/kbd.Installing the 110V transformer (required for the hydraulic solenoids).Connecting up the internal (IP66) lights.- Making up some form of tool touch-off probe for tool length / offset etc measurement.
- Sealing the headstock / bed covers to the enclosure.
- Cleaning up (and polishing?) the front and tailstock windows.
- Checking out / replacing the Meanwell PSUs that seem to be tripping the RCD. Or wiring up a 240V isolation transformer on the main incomer.
- Machining several toolholders down from 20mm to 3/4" height so that the tool tip is at centre height (part of this machine's imperial legacy).
I don't have an isolation transformer in the incoming mains feed, so I'm expecting to have to either replace the Meanwell PSUs or fit a transformer if I'm to avoid tripping the RCD every time I try to turn it on. Unless the Meanwells have magically fixed themselves.
Let's have a go and see what happens.....