What up?
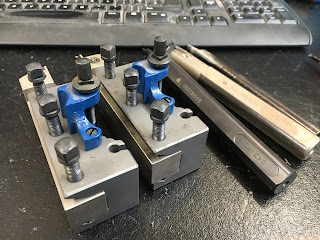
I bought a mixed set of toolholders when I coughed up for a Multifix toolholder clone a few years back.
These were bought from Create Tools who appear to actually manufacture some or all of the components. It's never clear if that's actually the case with many of these Chinese companies however, it's obvious that many of the companies selling them on are simply trading companies, no matter how hard they work at pretending they make them themselves.
Having not actually used the things, I stupidly included 2 of the boring bar holders AH2085, rather than specifying them all as AD2090 which have the simple rectangular slot.

Problem is that none of my boring bars require the trough feature, as in fact they all have a flat base.
And?


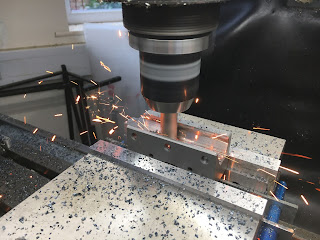
Sounds simple enough. But hold on, this thing is (should be) hardened. No problem if I'm using carbide tooling and don't get carried away on the speeds and feeds front. But what are we dealing with here?
Tough talk:
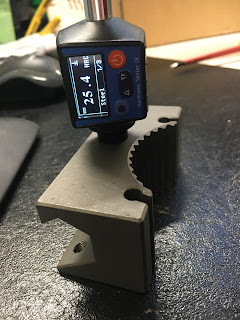
Luckily I have a Leeb hardness tester that may give me some idea. Although these aren't deadly accurate, they are a bit more elegant than running a file across the surface. The principle of operation is observing the coefficient of restitution of a ball bearing fired at the surface. By listening to the multiple bounces, it's possible to make a half accurate estimate of hardness.
Here's what I found - around 20-30HRC, which is indeed harder than mild steel or tempered tool steel. So I will need to take my time and be prepared for some sparks.
Let's have a look at some hard milling F&S starting values and take it from there.

Good. Now I can make better use of the toolholders without needing to swap tools endlessly, which rather defeats the point of having quick change tooling....


No comments:
Post a Comment