How did that work out?
Here's the drawing and table from the ISO standard:


I guess I'll need to do a decent inspection of the critical dims but without getting too carried away here, it's clear the part is still slightly oversized as intended where it matters. I need to leave some metal so that I can finish machine it in position once the rest of the maching has been done (cross bores etc).
Let's continue with the machining:
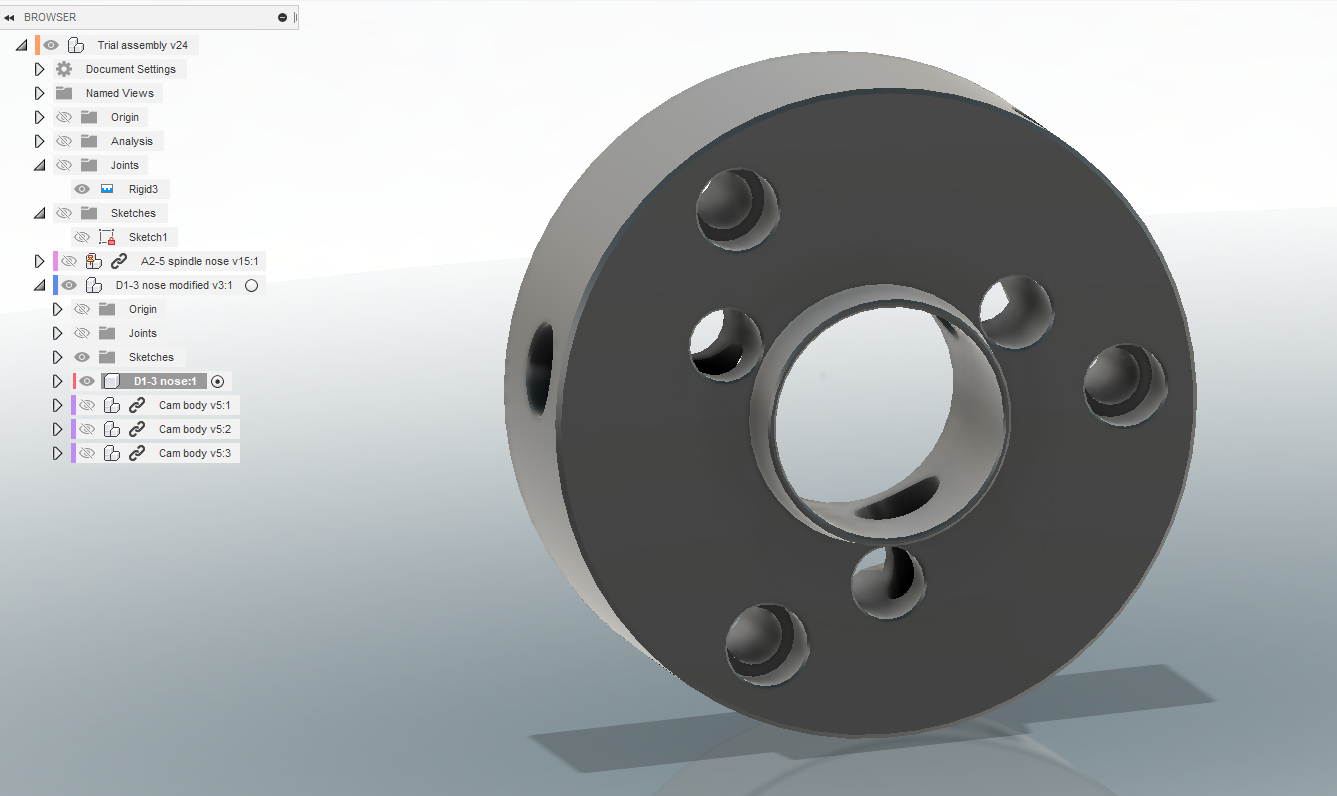
Now for the various axial and radial bores. There are 10 of them on this part:
- 3 mounting holes for 7/8" UNC cap head bolts (12mm through bore, with 17mm counterbore) - to mount it onto the A2-5 spindle nose.
- 3 through bores (15.1mm) - for the D1-3 pull studs.
- 3 radial bores for the D1-3 cams (19mm).
- ...and 1 blind bore for the drive pin on the rear of the body (15.9mm).

Over onto The Shiz. First, probe the centre of the bore, which I will use as the datum in X and Y.

Now I need a 12mm drill for the fixings holes and as the starting bore for the stud holes. I have a nice Osborn (RS) HHSCo drill - but the tips are fucked. Some clot has "blunted" them previously. Out with the Drill Doctor thing:

AS before, I'm somewhat underwhelmed with the surface finish this thing achieves. The diamond wheel needs more diamonds ie smaller and with a higher density. Consequently, it looks as if somebody had sharpened the thing by scraping it against a wall. But at least the geometry seems to be fairly close.

Simplest thing here is to simply position the drill using X and Y coordinates in MDI and then manually feed the drill with the wireless MPG. So a 2D drawing is helpful here:

Off we go again:

Next, I need to use my Chinesium boring head for the first time. Certainly looks the part but is it any good? Only one way to find out....

It's just long enough to bore through without hitting the tapered register:


Bloody hell, that's not bad:

The bores seem to be in the right place. This 3 jaw fits nicely, although of course I haven't finish machined the register yet, so it doesn't fit against the flat surface. Good result!

Now to counterbore the fixings. I went from 12mm to 17mm in 2 steps and the tool handled it without any problems or chatter:

Trial fit shows the cap head bolts fits nicely:

Good. Now I need to think about how to drill the radial holes. The actual machining is simple enough with my 4th axis device - but picking up the datum angle may need some careful thought and work.


No comments:
Post a Comment