So let's see what we got here ie will the damned things go together? The CAD assembly was fairly convincing, enough for me to machine up all the parts. And most of those have fitted together reasonably well so far - for the cross slide (X axis) assembly mainly. The next assembly is the Z axis. I've made up most of the parts so let's have a go at assembling it.
The first challenge is figuring out the position of the fixing holes for the Z axis ballscrew brackets. I struggled a bit to figure out how to extract the vertical dimension for the M6 holes that hold the brackets to the bed. Then the penny dropped - you view the component from the front and then fit dimensions to that drawing.

Here we are. Both ends drilled and tapped. The biggest uncertainty was the horizontal distance. In the same way that I struggled to measure that up for the CAD work, I also struggle to measure it now. I've deliberately included about 1mm slop in each direction for the ballnut yoke but the lateral movement required is closer to 5mm.


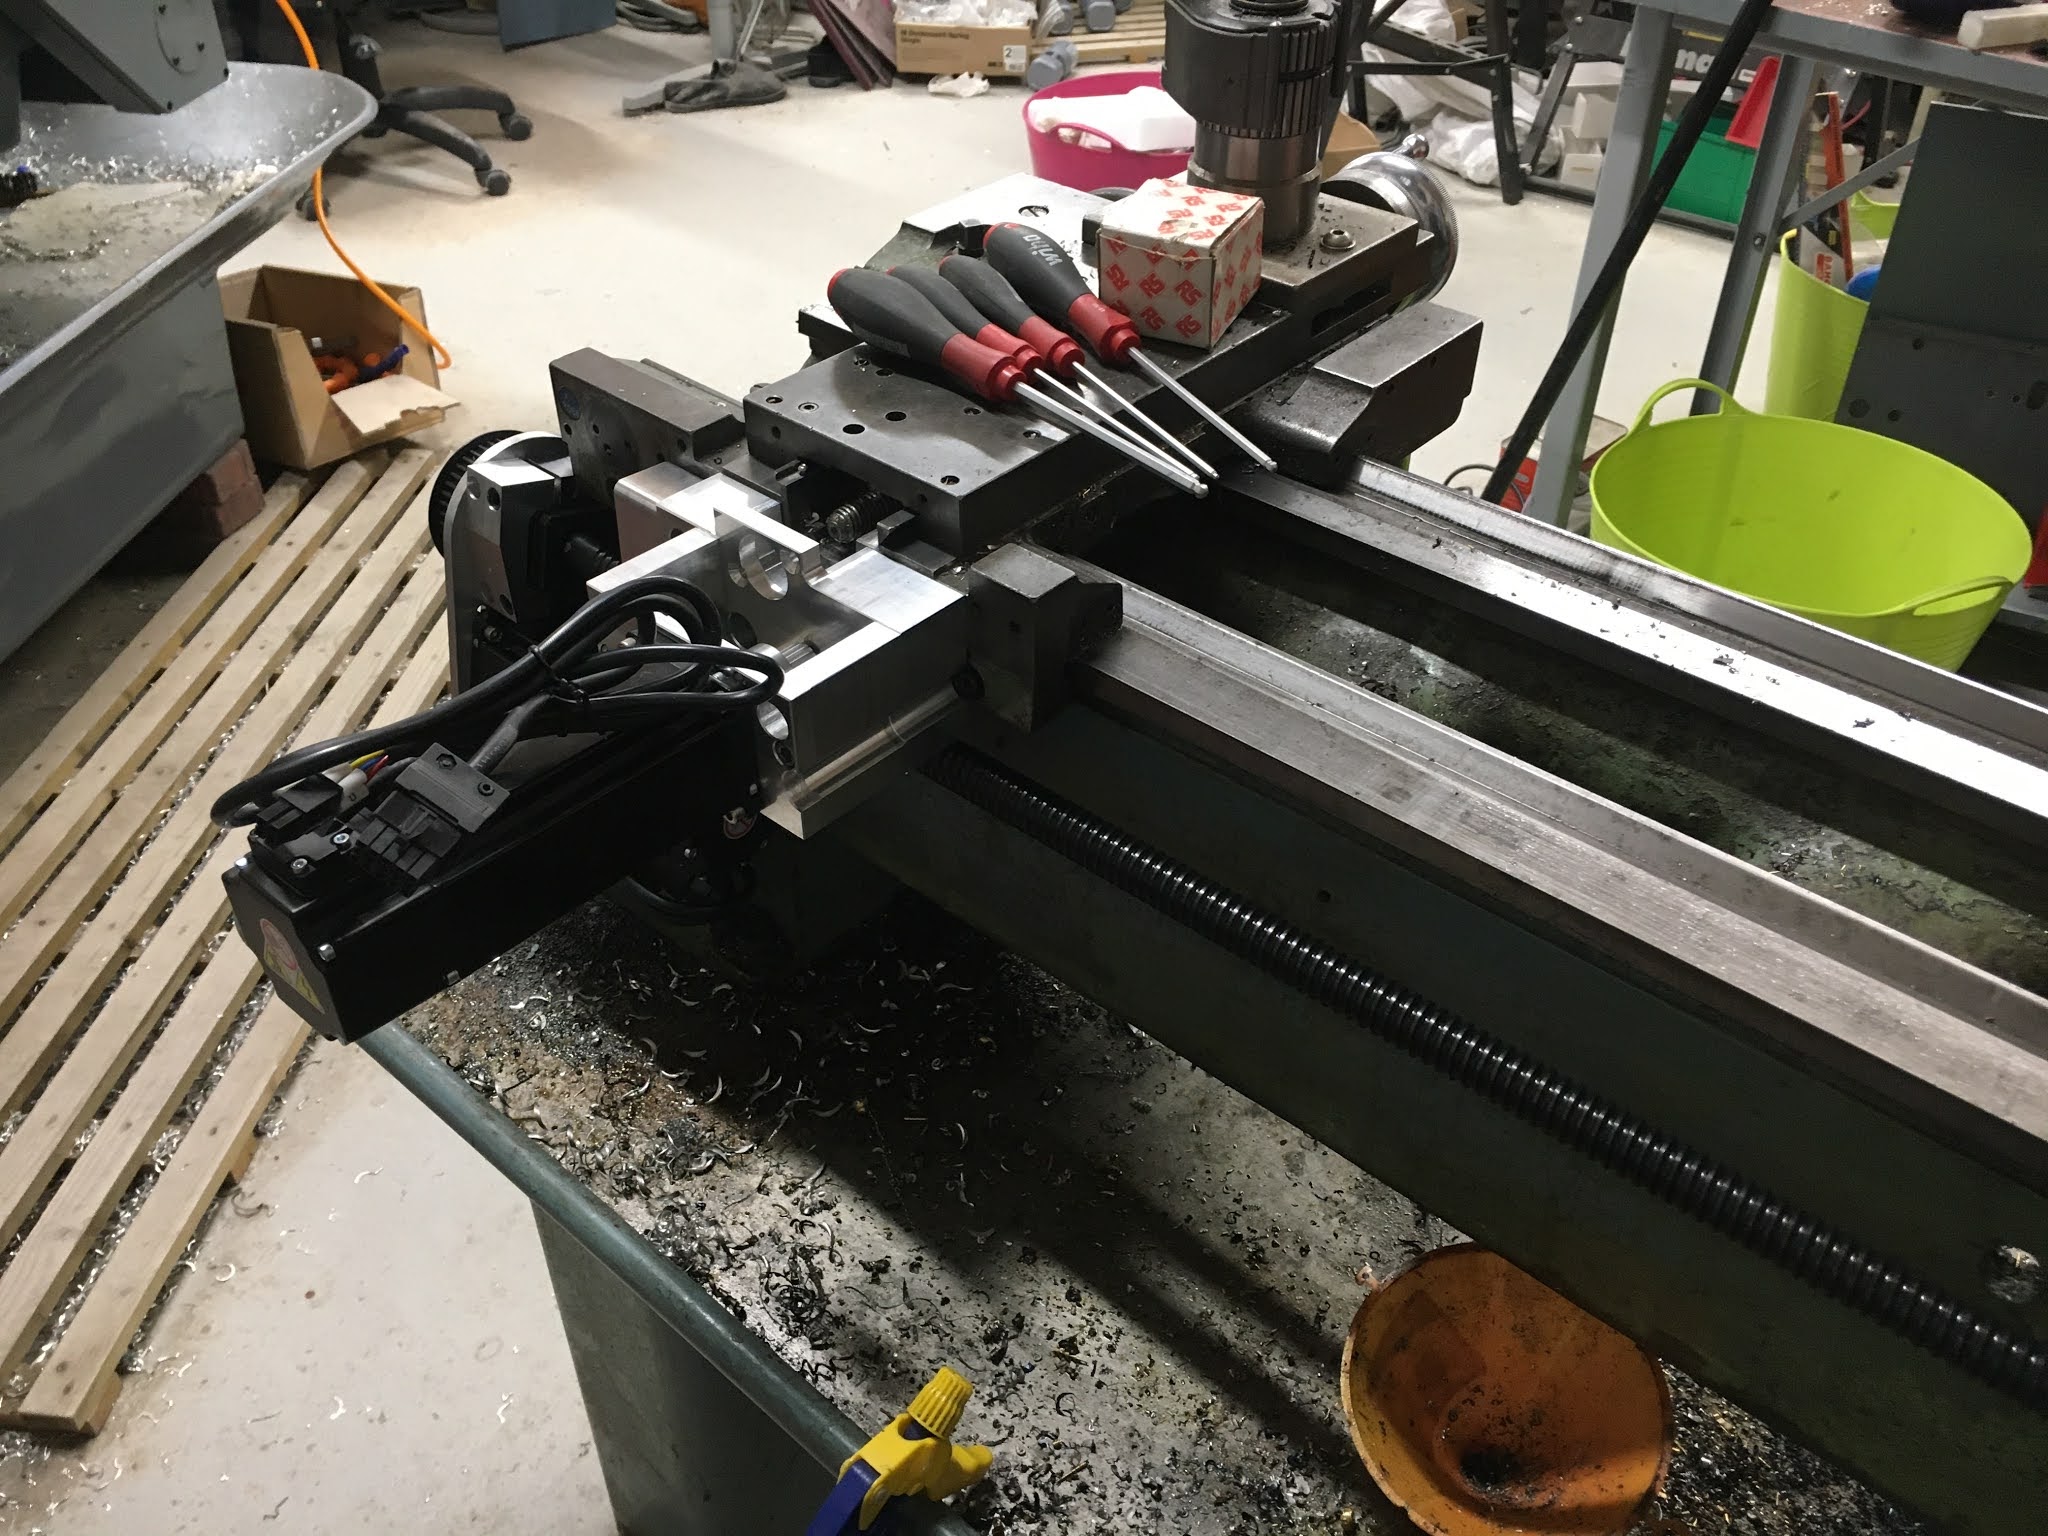
That will do for now. I'll now remove the motors and connect them up with the LinuxCNC controls. I may also need to start thinking about a control cabinet at some point soon.


No comments:
Post a Comment