Right, I've got the system running on the bench and cut my first part. Next step is to get into the cabinet build. I've got myself another IP67 steel cabinet from CPC (Europa brand) and some of the bits and bobs I know I'll need.
Workshop reorg:
First, let's clear the decks by moving the lathe to the end of the main work bench. This will give me more space on the bench and will allow me to wire up the cabinet on the bench while also connected to the machine itself.


PC Build:
What about this PC then? There's the slight matter of wiring up the two Mesa boards (7i85 and 7i76) to the 5i25 in the PC itself. Problem is that the cabinet isn't enormous. I've chosen it to fit on the end of the lathe and of course when you get down to it, you tend to find there's never enough space inside to allow you to fit all the stuff in and wire it up sensibly.
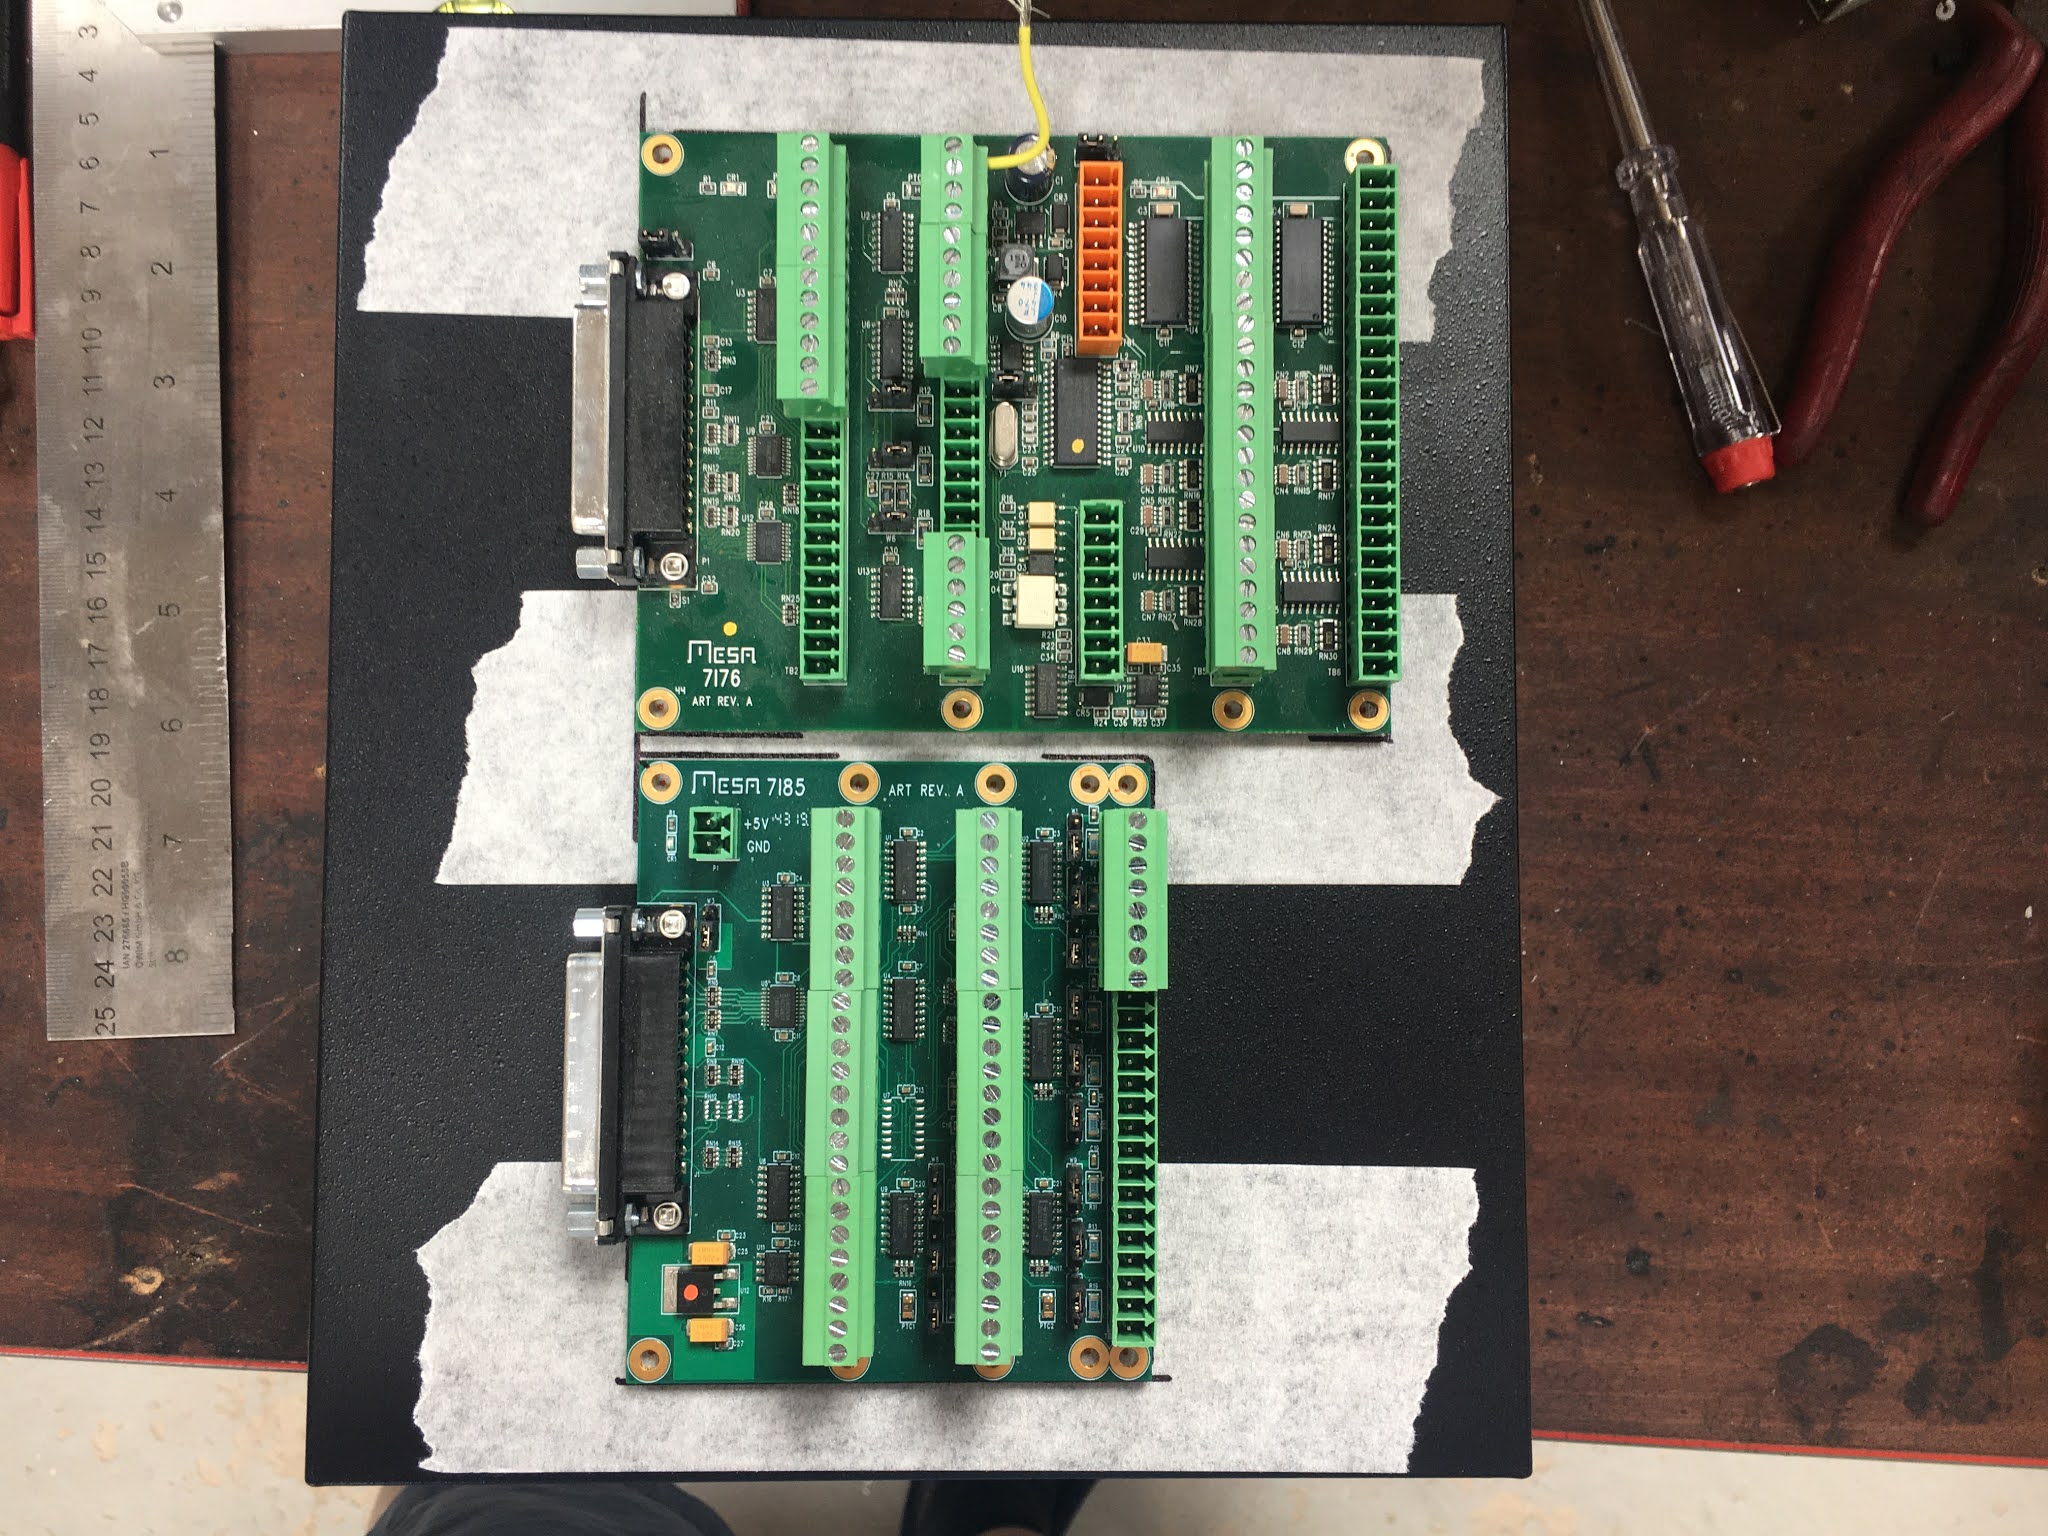
Here's the PC and the external boards.

And the cabinet baseplate with the VFD and servo drives plonked down to get an idea of how little space there is. I need to think carefully here, to avoid the old quart vs pint pot scenario.:

So my cunning plan is to mount the boards on top of the PC. A bit like this but with the case on, obvs. But this illustrates how the cables might run, given the positions of the various boards:

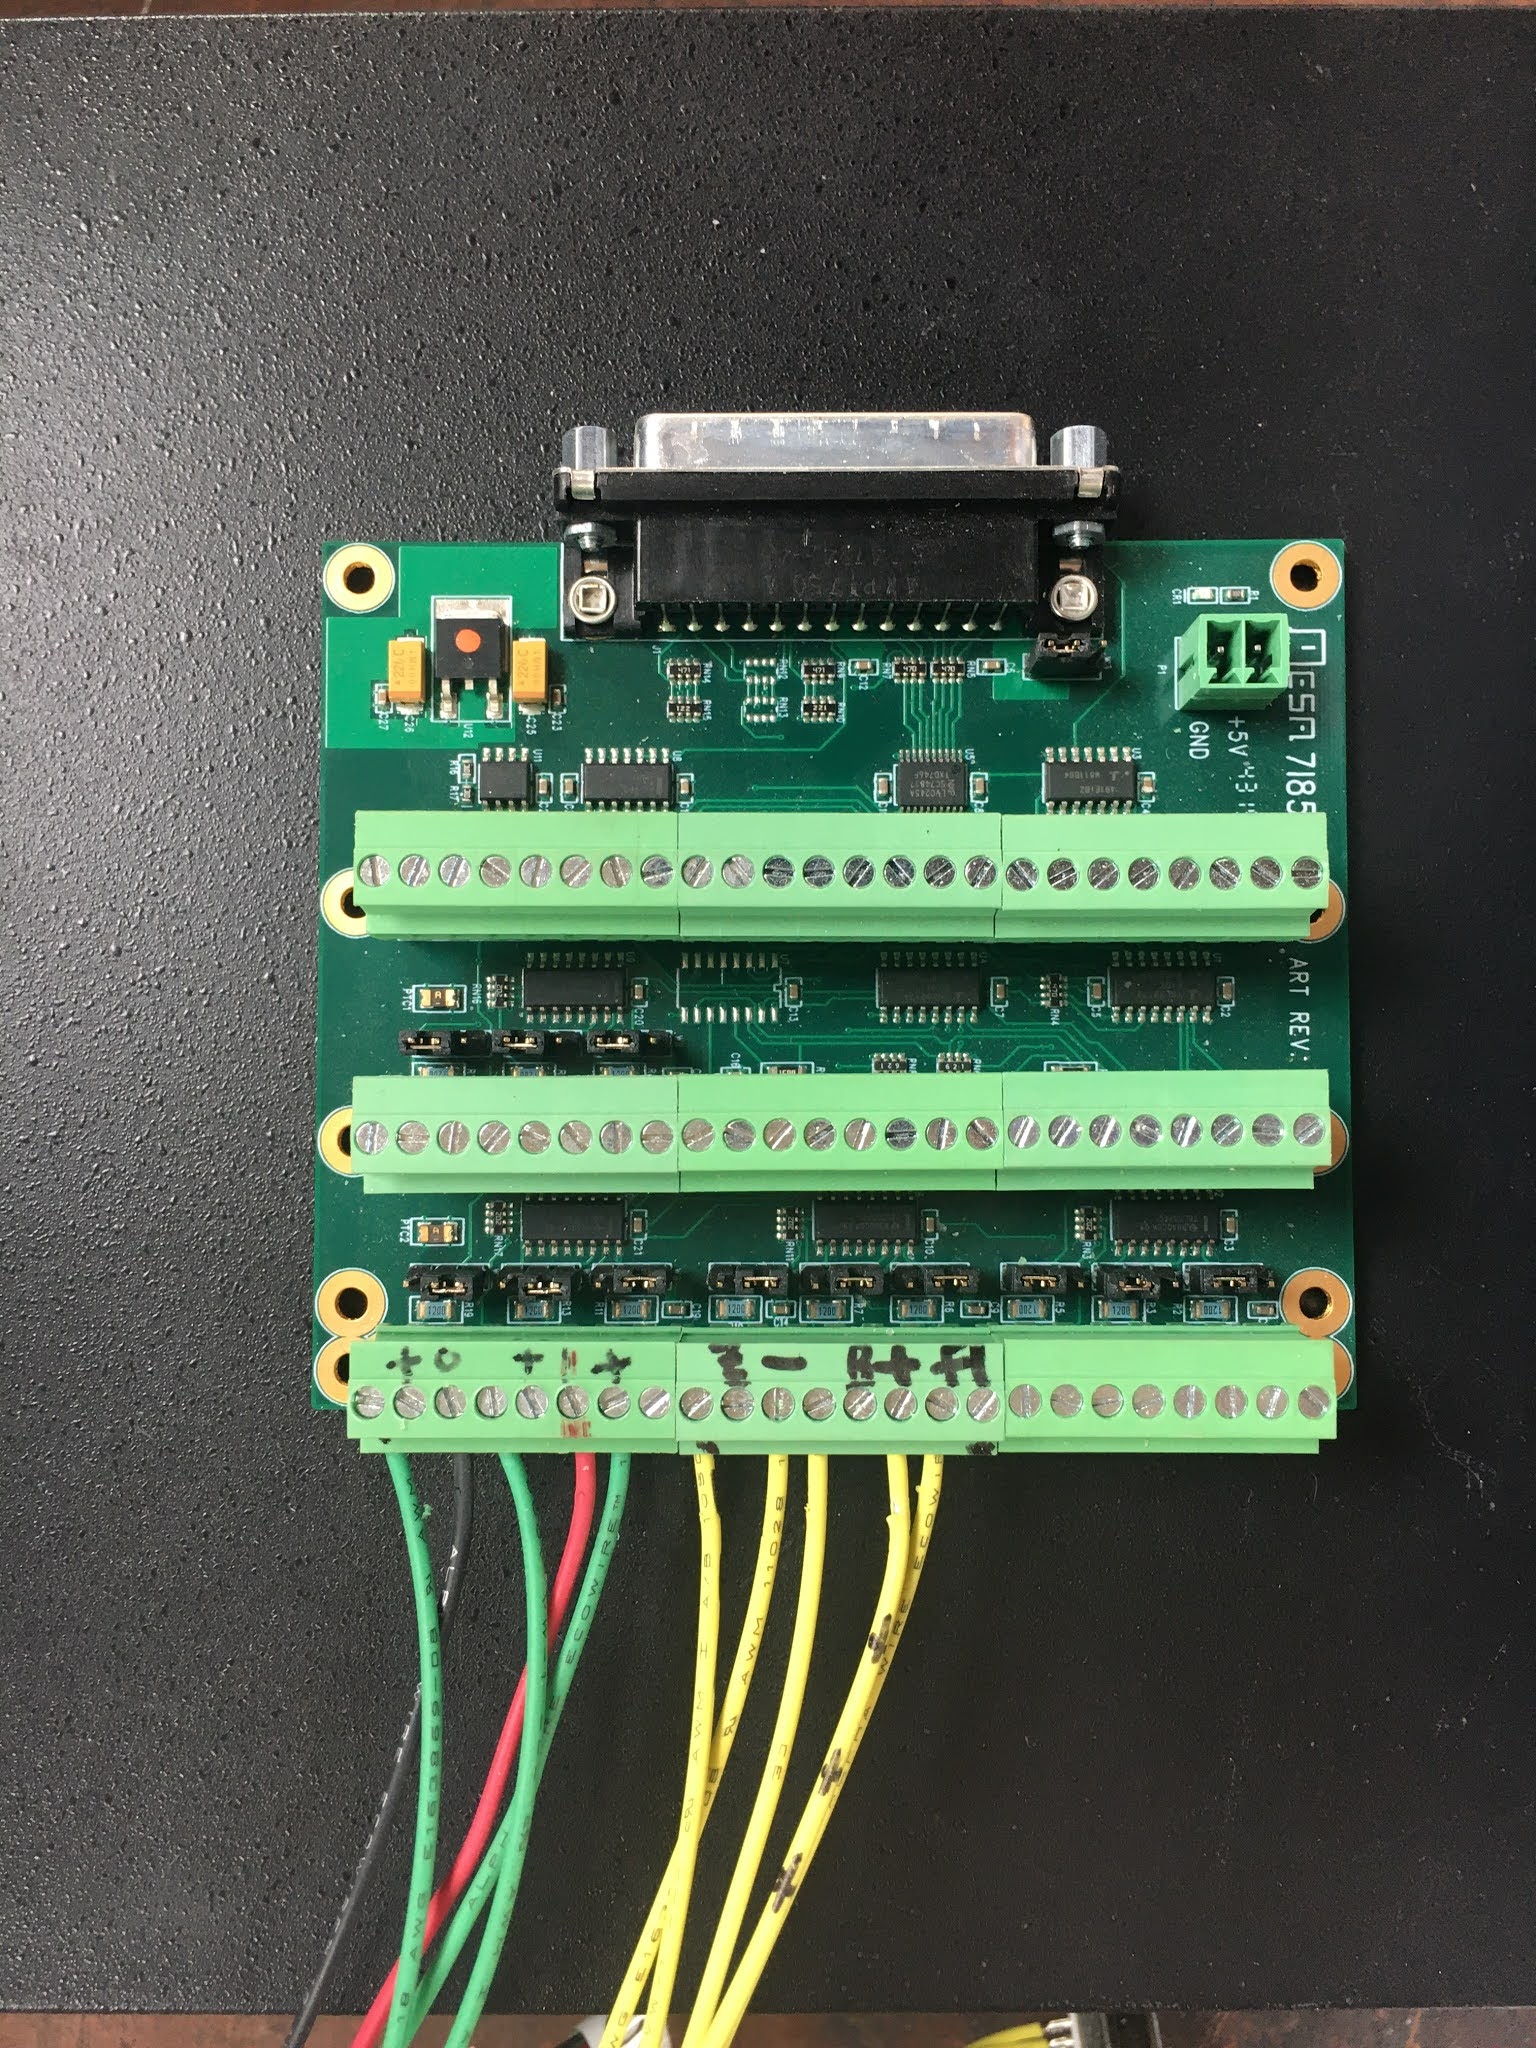
For my own records, here are the existing connections (mainly encoders, limit switches, servo and VFD controls):

7i76 (step/dir, GPIO and spindle). I'll remove the 7i76 from its plastic tray:

7i85 encoder board:
This would work:
Mark out holes:

A bit of buggerage with a load of M3 screws and Bob's your uncle. The 7i76 is wired up using the ribbon cable and a gender changer thing (that yellow bit). I now need to make up a cable for the 7i85. The main 5i25 D connector is hidden just above the main motherboard port:

I'll cut the 2m long D25 cable and reterminate it about here:

But the shitty Chinesium D25 cable I got from ebay (Amazon?) is visibly crap. Doesn't even have any shielding. So I'll use the other cable. Forget where I got that one (possibly came with the 5i25/7i76 combo?) but it looks like a better class of cable. So now I've chopped both of them up - hope I won't need either of them again....


Strip and tin all the wires. There are clearly more than 25 of them, so some obvs aren't used.

Prepare to solder them. This won't be a whole bundle of fun.


God, that was a fiddle:

For identifying the correct wires and checking them afterwards, I used a DVM in beep mode. This did the trick, so it's time to make it secure now.

The screen strands were completely unsolderable, despite applying loads of heat and flux. Ended up giving up on the soldering attempt and fitting a crimp and soldering to that instead. God nose what special plating they had used on the wire.

Looks as if I almost made that too short! It's not quite as bad as it looks....

Bitfile update:
Obviously the 5i25 FPGA isn't psychic yet, so can't be expected to magically reconfigure itself for the swapped over boards. Seems I need to reflash the firmware from the existing 5i25_76_85 to 5i25_85_76.
I flashed the 5i25 previously and made a post explaining how it's done, so hopefully I will recall enough for it not to be a complete nightmare. Let's see how that works out....
Download / extract the bitfile to folder /lib/firmware/hm2/5i25/configs/hostmot2/ then go to that folder in a terminal session and run mesaflash like this:
muzzer@LinuxCNC:/lib/firmware/hm2/5i25/configs/hostmot2$ sudo mesaflash --device 5i25 --write 5i25_7i85_7i76d.bit
Checking file... OK
File type: BIT file
Boot sector OK
EEPROM sectors to write: 6, max sectors in area: 16
Erasing EEPROM sectors starting from 0x100000...
|EEEEEE
Programming EEPROM sectors starting from 0x100000...
|WWWWWWWWWWWWWWWWWWWWWWWWWWWWWWWWWWWWWWWWWW
Board configuration updated successfully.
Checking file... OK
File type: BIT file
Boot sector OK
Verifying EEPROM sectors starting from 0x100000...
|VVVVVVVVVVVVVVVVVVVVVVVVVVVVVVVVVVVVVVVVVV
Board configuration verified successfully.
You must power cycle the hardware or use the --reload command to load a new firmware.
muzzer@LinuxCNC:/lib/firmware/hm2/5i25/configs/hostmot2$
Checking file... OK
File type: BIT file
Boot sector OK
EEPROM sectors to write: 6, max sectors in area: 16
Erasing EEPROM sectors starting from 0x100000...
|EEEEEE
Programming EEPROM sectors starting from 0x100000...
|WWWWWWWWWWWWWWWWWWWWWWWWWWWWWWWWWWWWWWWWWW
Board configuration updated successfully.
Checking file... OK
File type: BIT file
Boot sector OK
Verifying EEPROM sectors starting from 0x100000...
|VVVVVVVVVVVVVVVVVVVVVVVVVVVVVVVVVVVVVVVVVV
Board configuration verified successfully.
You must power cycle the hardware or use the --reload command to load a new firmware.
muzzer@LinuxCNC:/lib/firmware/hm2/5i25/configs/hostmot2$


No comments:
Post a Comment