Chip time?
Back home now with the new Vertex chuck, so let's get cracking and get it fitted to the spindle. Then I can actually start to machine stuff safely.
Back home now with the new Vertex chuck, so let's get cracking and get it fitted to the spindle. Then I can actually start to machine stuff safely.
Before I get too carried away making chips, let's check the backplate for runout etc in its current state ie as received. I've previously done this and it seems to be fairly well made.
The axial runout on the mating face is pretty good - within 10 microns or so on my Mitutoyo DTI:

Similarly, the radial runout on the external diameter is minimal:

The register is rougher than a bear's arse but it's one surface you'd certainly expect to need to machine for any chuck you plan to fit.

Before running any CAM program, you need to skim the stock in X and Z, to give it some idea where the part is in the current WCS.


Off we go.

No undue excitement or cockups. Having said that, I'm glad I spotted the tool length offset issue in the posted g code (see later), otherwise I'd have had a crash.
Final register diameter is 65mm. I only have 10um calipers but this is a good result.

It's tight enough for the chuck to sit on the register without needing any fixings:


Couple of marks on the spindle and backplate before removing it:

And sure enough, the runout at this stage is minimal:


Fitting the chuck:
Now I need to drill and tap the M10 fixings for the chuck. I need to hold the backplate on The Shiz but it's a cylindrical part, so the simplest solution is to bolt it to a piece of stock held in the vise. These existing holes are actually 1/4-20, presumably for a chuck. The threads don't reach all the way to the front face which means I can simply thread the front side M6:

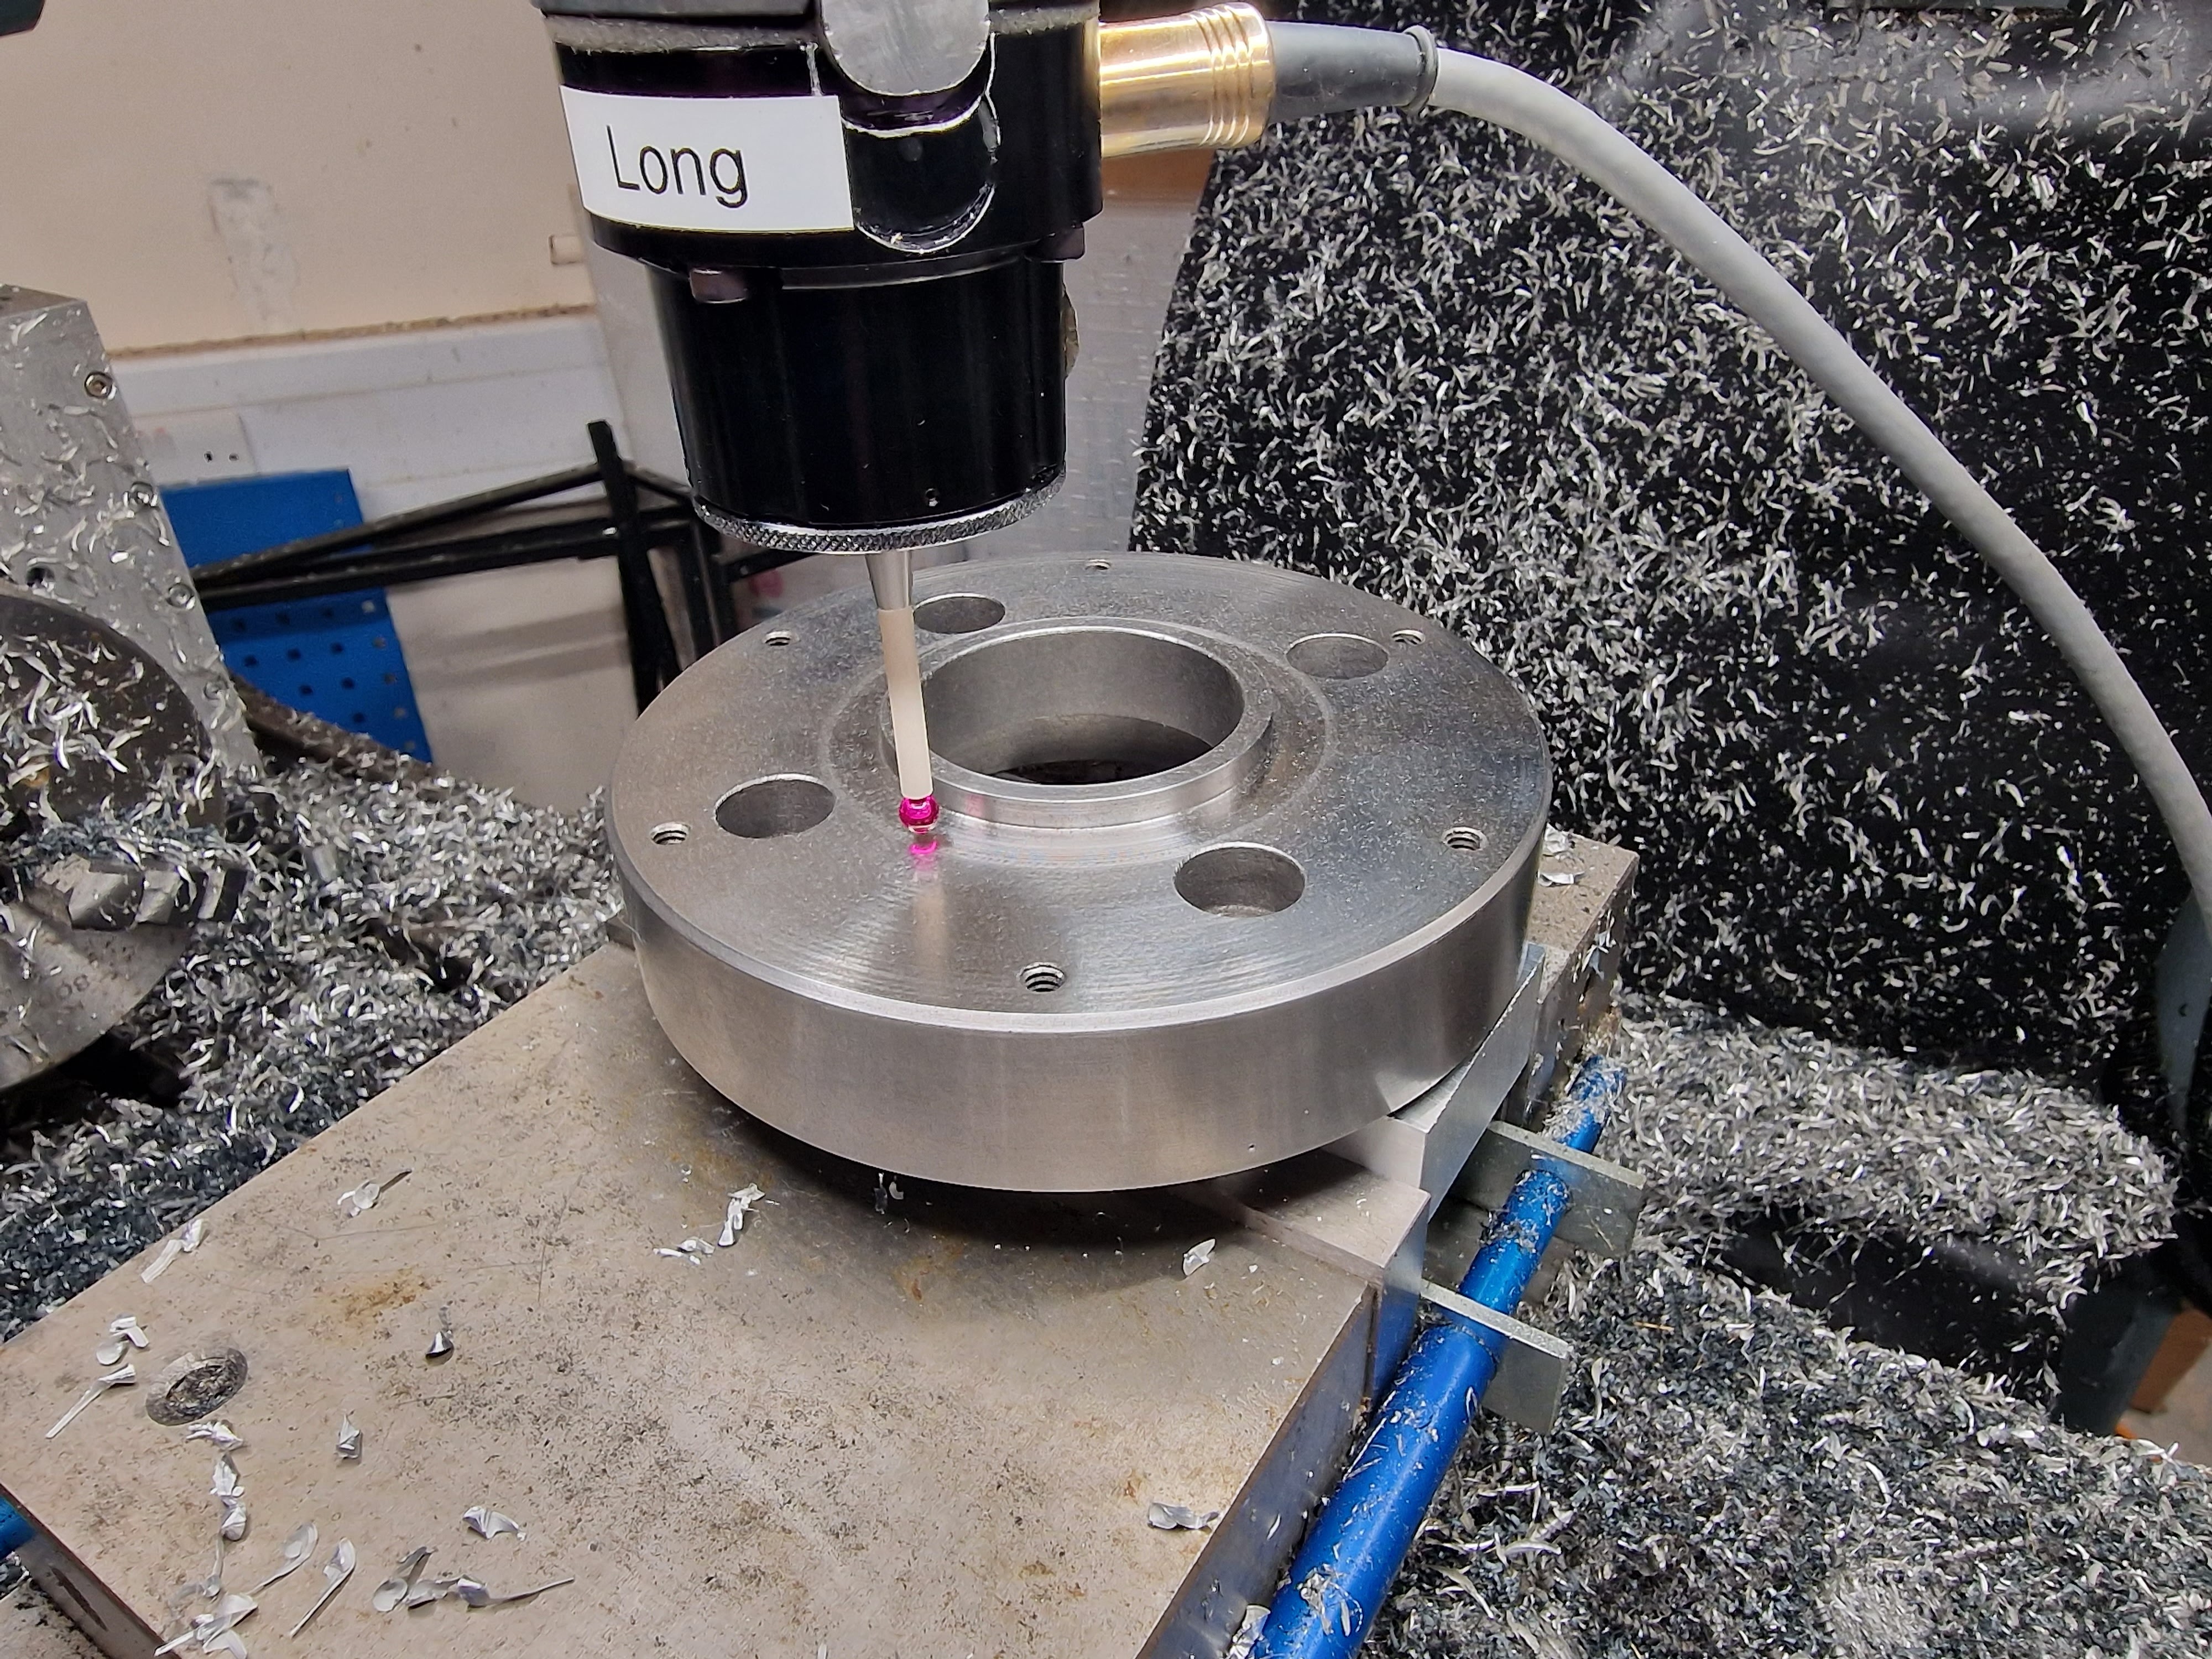
Mounted in The Shiz and ready to probe the bore centre:
First, drill 8.5mm (tapping) through. I have a nice carbide drill for this. Yes, the chuck fixing holes are a bit close to the backplate counterbores but hey. That's a function of the predrilled 1/4-20 holes and I simple went with tapping out the first pair of holes my eye fell on:

Then tap most of the way in The Shiz and finish using a manual tap wrench:

Finally, bolt the backplate and chuck onto the spindle. Nice:

What do we end up with?
The worst case radial runout at the furthest point from the spindle) is 25um:

And axial runout on the face of the chuck is 10um maximum.

Not bad for starters. Whether it remains as precise as this for any length of time remains to be seen but at least I seem to have made a half decent job of it to start from.
Fusion 360 Post - near cockup on too, length offsets:
The original g-code was missing the red T0303 element on line N19 (see below). Without that, line N15 calls up tool 3 - without an offset. If you tried to run this code, the wrong offset would be applied and a crash into the spindle would be very likely.
;1001
N10 G98 G90
N11 G21
N12 G50 S2000
N13 G53 G0 X0.
;PROFILE ROUGHING2
N14 M0 ;CHANGE TO T3 ON REAR TOOL POST
N15 T0300
;TURRET 102 FOR X POST
N16 G54
N17 G99
N18 G97 S457 M4
N19 G0 X174. Z37. T0303
N20 G50 S2000
N21 G96 S250 M4
N22 G0 Z18.
... etc
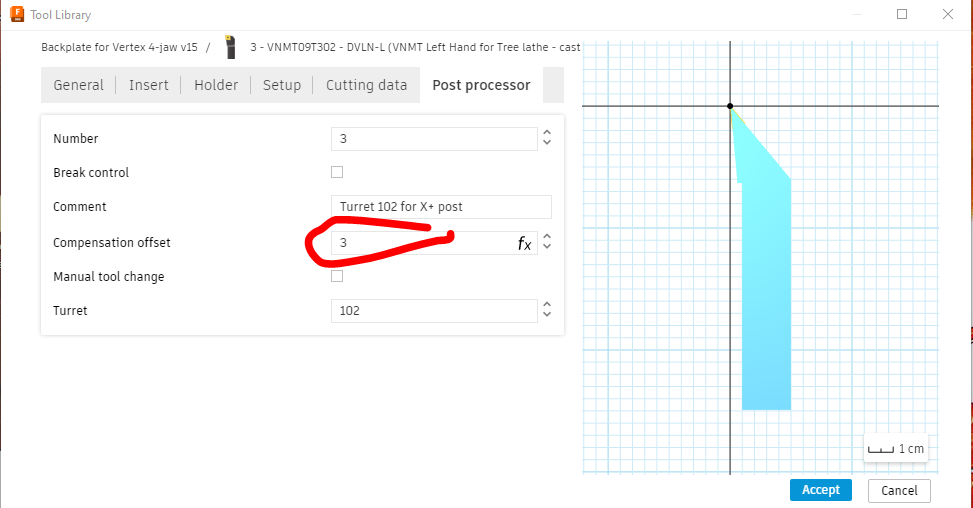
There needed to be a "T0303" somewhere - where had it gone? Turns out this was due to the "compensation field" within the Post Processor settings in the Fusion tool library being set to zero. God knows how this happened - but I think we can safely guess that The Stupid Fat Bloke had been in there playing with the settings:
It should set by default (parametrically) to be the same as the tool number, like this:
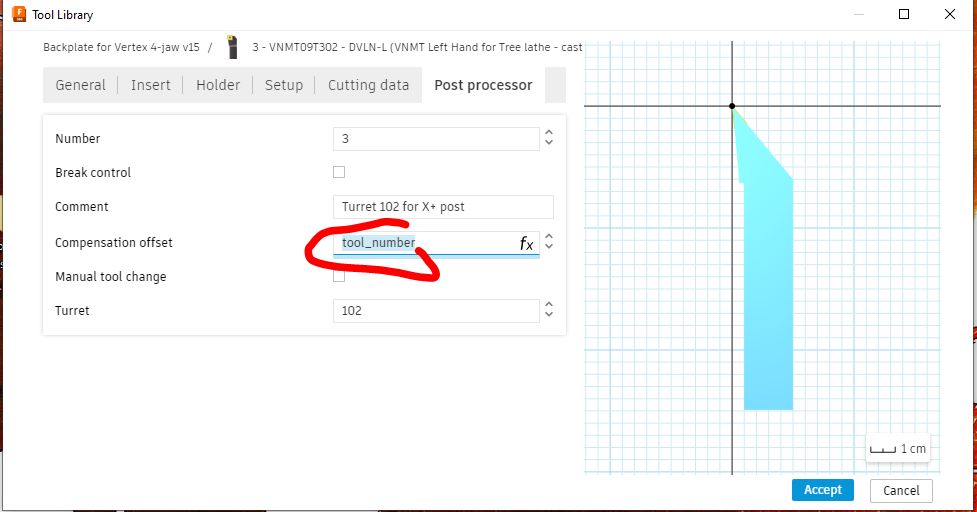
When set to zero, the "T0x0x" parameter is not generated during post processing. So yes, I've gone through all the tools in the library to find and correct any more examples of this error (2 found), to avoid it biting me in the ass later. We will put that down as a close call. It's A Good Thing I'm starting to get a better understanding of the g code for lathe operations and how it works, otherwise I'd most likely have missed this one....


No comments:
Post a Comment