I received my ISO30 / INT30 shank 16mm keyless drill chuck today from CTC. My Blidgeport has a quick change pullstud system (of my design) and I have a load of special pullstuds (I got them made) that are used with either ISO30 or BT30 tools. The BT30 (without the parallel shank) are easier to use (as no machining is required) but sometimes it's not possible to get the tooling I want in that flavour. The pullstuds are a different length in each case.
With the ISO30 shank, it's necessary to remove typically 10-12mm from the shank. But the actual length of the shank doesn't seem to be particularly consistent. Normally it doesn't matter, as it's simply providing a thread for the drawbar.
In tha past, I've measured up the shank and manually machined off the required length of the shank. Ideally I'd make up a gauge to make the process more precise and straightforward. Why not do it today?
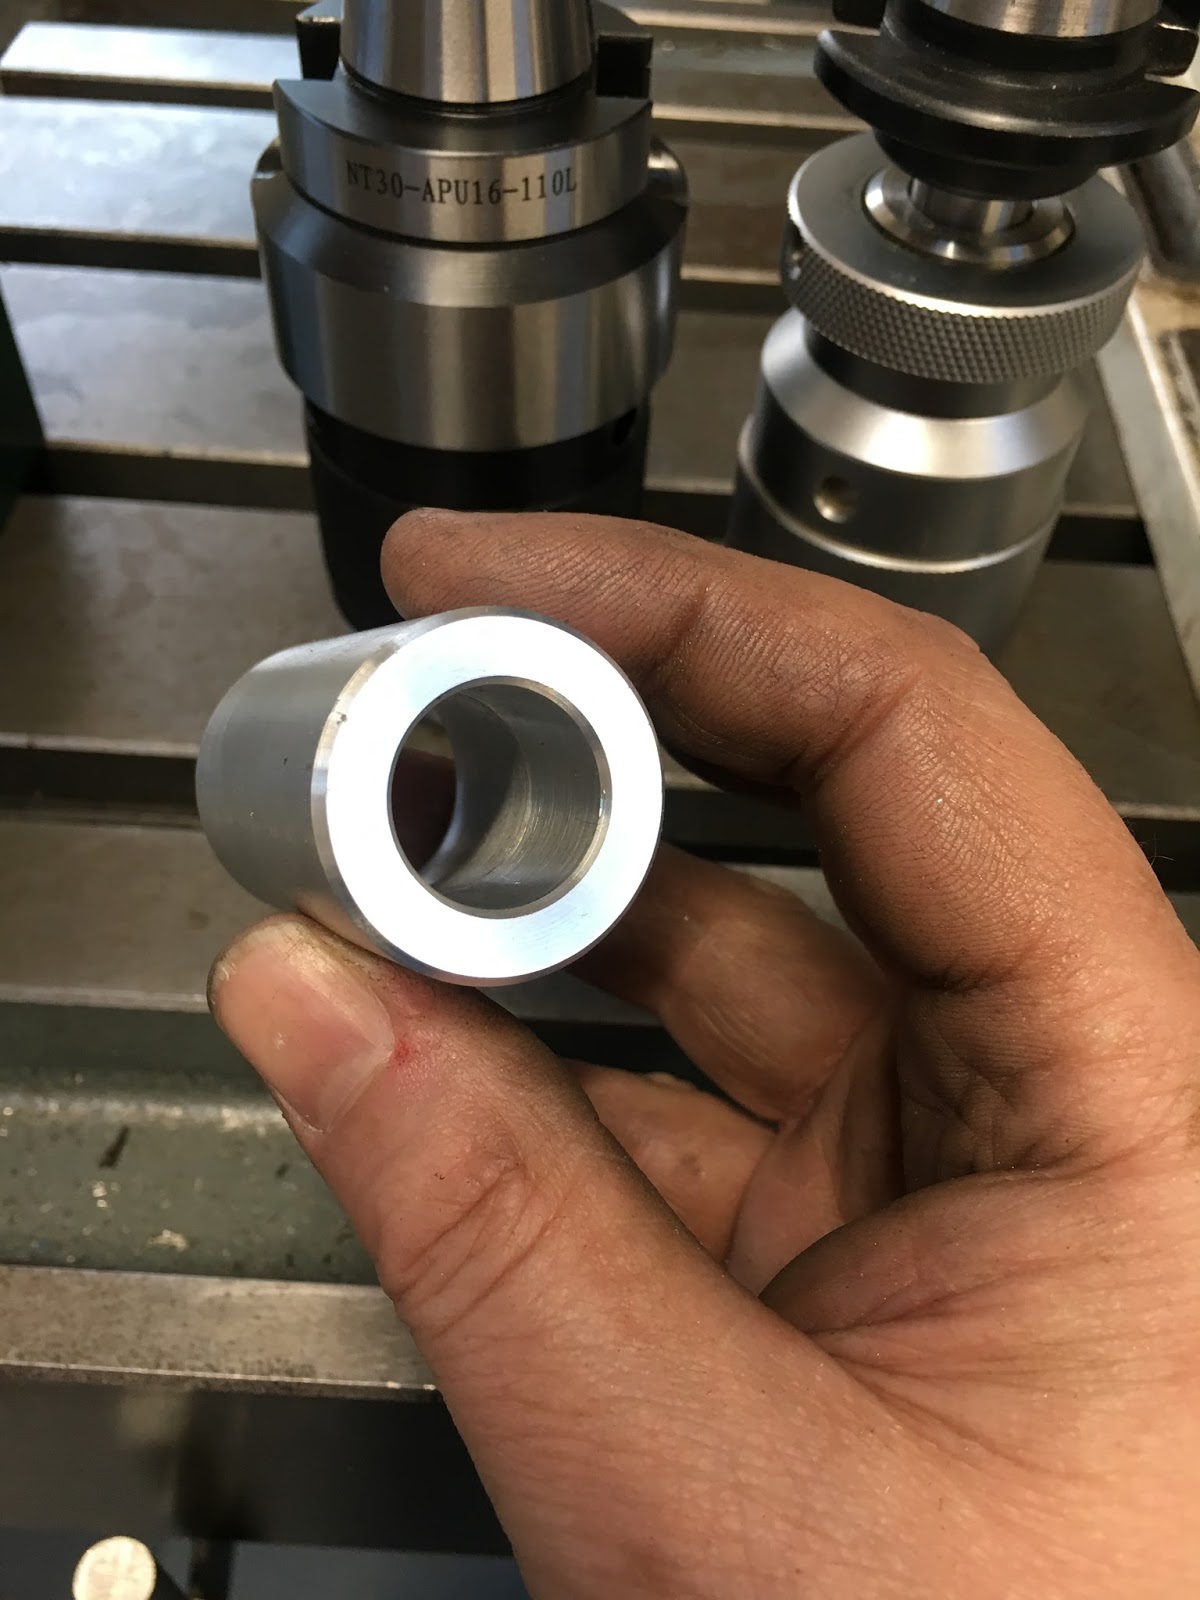
First, clean up a short length of loominum. Drill and bore it out 17mm to clear the shank body.

Replace the Multifix toolpost with the original topslide, so I can set it to the exact taper angle required. Best way to do this is to mount a taper tool in the chuck and use a DTI to get the topslide to the same angle. Using a cordless drill driver to move the topslide is a sensible move!

There you go. Faced off the length so that the end of the gauge is where the end of the pull stud needs to be. On the left is a standard, unbutchered ISO30 toolholder.

With the gauge in place, we can see how much needs to come off, allowing additional allowance for the pullstud:

This is it with the toolholder butchered. I just cut it off with an angle grinder and dressed it on the belt sander.

Simple, eh!

With the larger chuck now usable in the Blidgeport, I can drill out the final hole in the drill stand:

Update 2nd Feb - letter and number punches arrived from Arc Euro today, so I added the drill size info to the stand. I didn't get really anal about getting the numbers dead straight and deliberately(!) put one of the "c"s he wrong way round. Ahem.

Drill stand - finished.


No comments:
Post a Comment