As mentioned, I got some stuff delivered today. Firstly, Cutwel sent replacements for the 2 end mills that never arrived. Beautiful things! 3mm diameter, 12mm reach, with a reduced shoulder.


And the cabinet arrived, along with some of the gubbins to go in it. The top and bottom panels, gaskets and fitting kits on the right:

Let's get going:
First thing, door off:

Chassis plate out and offer up the Newker controller. I'll mount it at the bottom of the front panel. I found that peering up at the display was a pain in the neck on The Shiz where it was at head height.

Next, do some playing about with the key components on the base plate, namely the VFD, 3 PSUs, 2 servo drives and the terminal blocks.
I need to position the VFD and the PSUs so that they don't foul the various connectors coming out the back of the controller. So I'll mount the VFD at the top left and the PSUs at the top right.
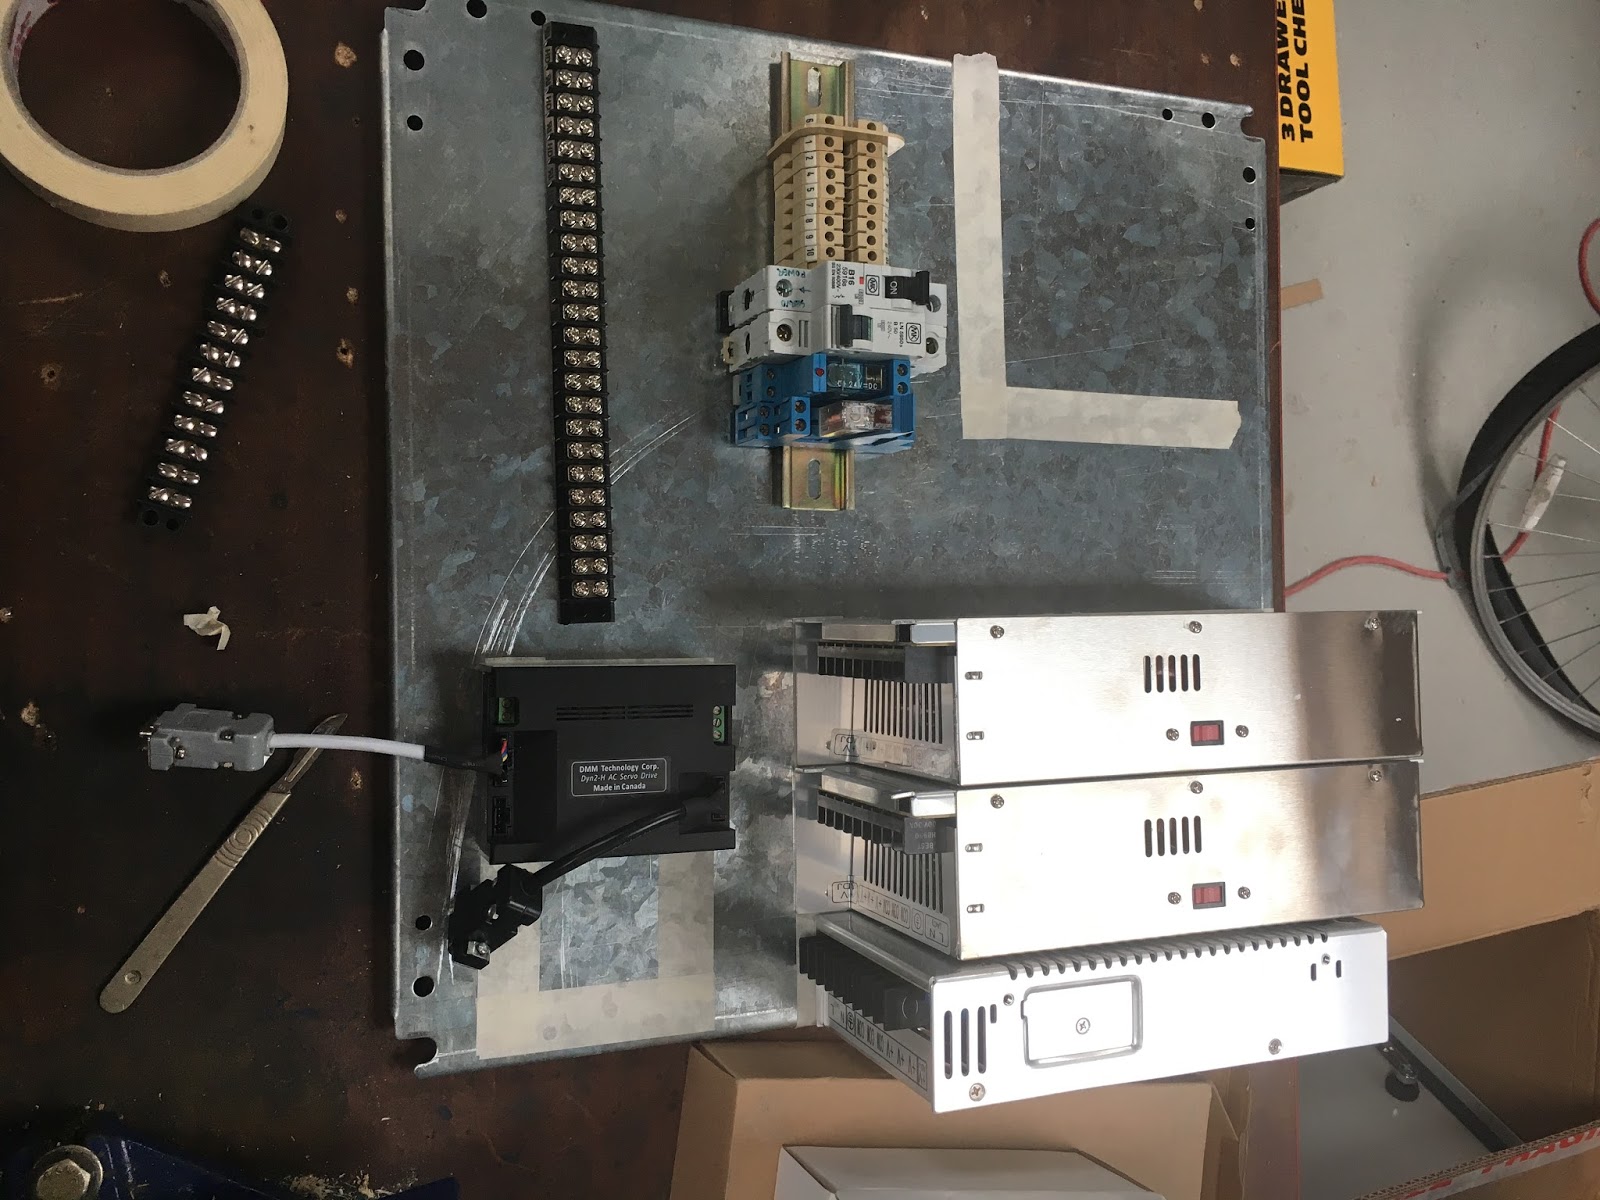
The controller has its own MeanWell PSU piggy backed on its rear face, so this needs to clear anything mounted on that part of the chassis. The PSUs will be OK there.

Do I want to bother changing all the cables over to plugs and sockets where they enter the cabinet? I have enough buggerage making up the wiring for the controller connectors. Tempted to just run them in through glands or some other shortcut. In fact, the encoder tails provided come with Dsub connectors on them, so one quick and dirty solution would be to simply blast a hole in the bottom panel and screw them in place there. Don't recall which connector is for the encoder but it looks possible:

The DMM Tech signals cables (for the encoders) are a bit Toytown. They supplied simple 9-way Dsub cables (aka RS232), which leaves the cable-motor connections vulnerable to ingress of muck and coolant, being in the vicinity of the work area. May need to splice them and do away with the large and unsealed connectors. And probably do something to seal the motors and encoders themselves.
This is the encoder connector. So yes, it looks as if I can just hang it off the edge of the chassis plate.

Ran up one of the DMM Tech servos. Worked nicely, so I don't appear to have broken anything during my recent machining exploits.


No comments:
Post a Comment