
Then set it up in the 4-jaw with the hole on the centre line. Doesn't need to be very accurate but it's within 0.001" or so, just for the hell of it.


Now make the 32mm counterbore. Needs to be 10mm deep, so will make it slightly more, leaving a little margin for facing off. Here's a simple way of setting the carriage stop at the correct travel, using the tailstock DRO. Zero the DRO with the tool touching the end face, then push the carriage along until the reading indicates the correct depth (10.5mm or so)

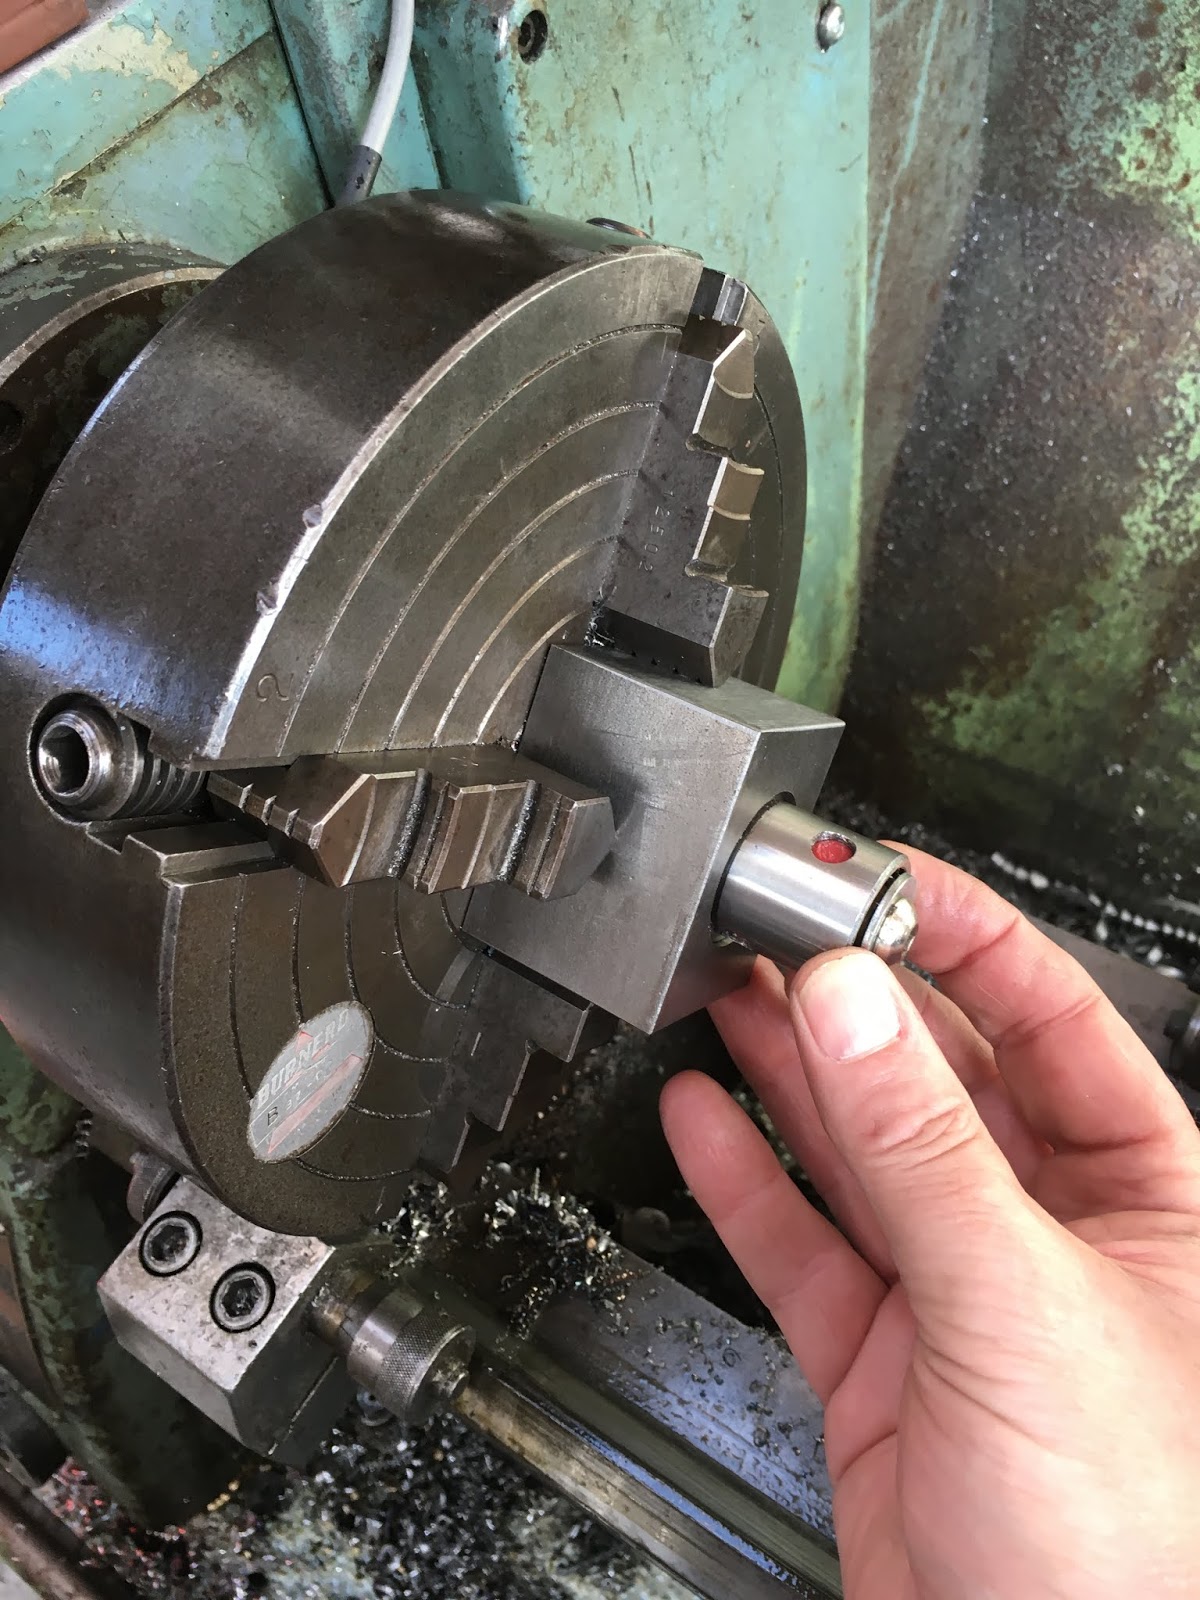
The 32mm end is a good fit too:
After facing off the stock, I have both bores and a true face (perpendicular to the bores) to work from.

The rest will need to be milled on The Shiz.

It's 2mm oversize on width (X), about 4mm oversize on length / depth (Y) and 7mm oversize on height (Z).
I guess I'm going to be facing off the "top" (parallel to the machined surface), then the sides, then one of the ends. I can do the facing operations in one pass, as my facing tool is 50mm diameter.
Apart from the slit and the pinch bolts, almost all of the remaining operations will centre around the features that mate with the quill.


No comments:
Post a Comment