This is a cast iron body. Being round, I need some way of holding it in the vise such as a pair of vee blocks. I don't have anything suitable but I have these soft jaws that were made and used for making something a while ago. I forget what exactly.
Ideal.
I need to drill through the full depth of the body, then counterbore them out to fit the screw heads. So that body is upside down. And I will do best to CNC the holes and the counterbores.
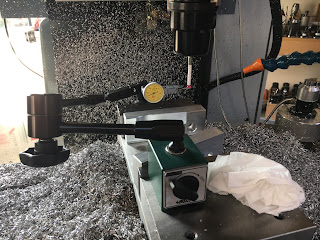
First, I need to dial in the new Chinesium tip for the Renishaw probe. This requires a sensitive DTI that has a very light spring load, so the probe doesn't move when in contact.
Set the original in the centre of the bore, on the top face:
First, spot drill the 3 holes to reduce the risk of the drill wandering, as it's a 58mm deep hole.
Here we go...
That worked out OK
Followed by counterbore and chamfer. Then doctor the screws to the correct length and diameter. I only have 3 screws the correct length and 2 of them are button heads. A quick session in the lathe got them to the right diameter.
There
Done. I need to clean and reassemble the chuck but it all goes together as planned.
Next - finally get the servo motor working?


No comments:
Post a Comment